
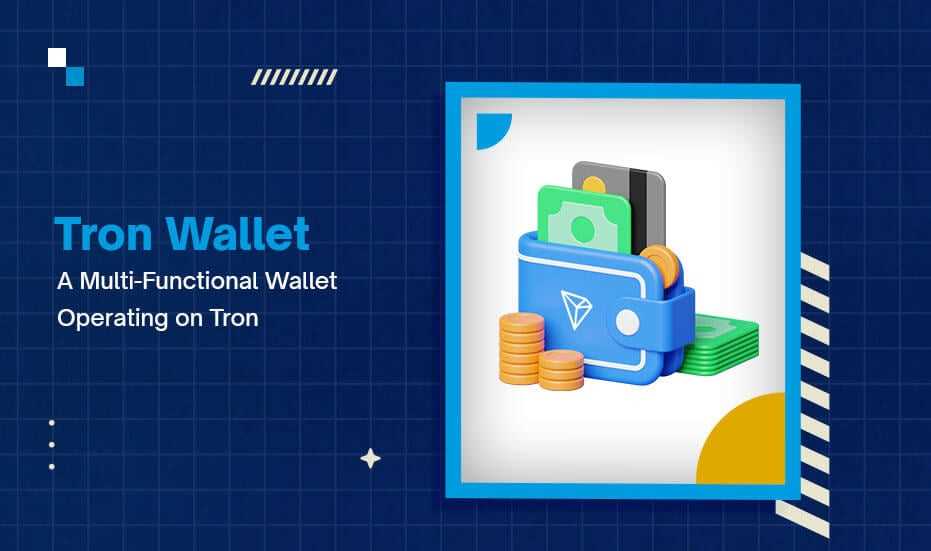
Welcome to the world of Tronwallet! If you’re new to the world of cryptocurrency and want to start exploring the Tron blockchain, this beginner’s guide will help you get started. Tronwallet is a secure and user-friendly mobile wallet that allows you to store, send, and receive TRX and other TRC-10 and TRC-20 tokens.
Step 1: Download Tronwallet
First things first, you’ll need to download the Tronwallet app on your smartphone. Tronwallet is available for both iOS and Android devices, so simply head to the App Store or Google Play, search for “Tronwallet”, and hit the download button. Once the app is installed, you can proceed to the next step.
Step 2: Create a New Wallet
To begin using Tronwallet, you’ll need to create a new wallet. Launch the app and select “Create New Wallet”. You’ll be prompted to choose a secure password and backup your wallet’s seed phrase. Make sure you store this seed phrase in a safe place, as it’s the only way to recover your wallet and funds if you lose your phone or forget your password.
Step 3: Accessing Your Wallet
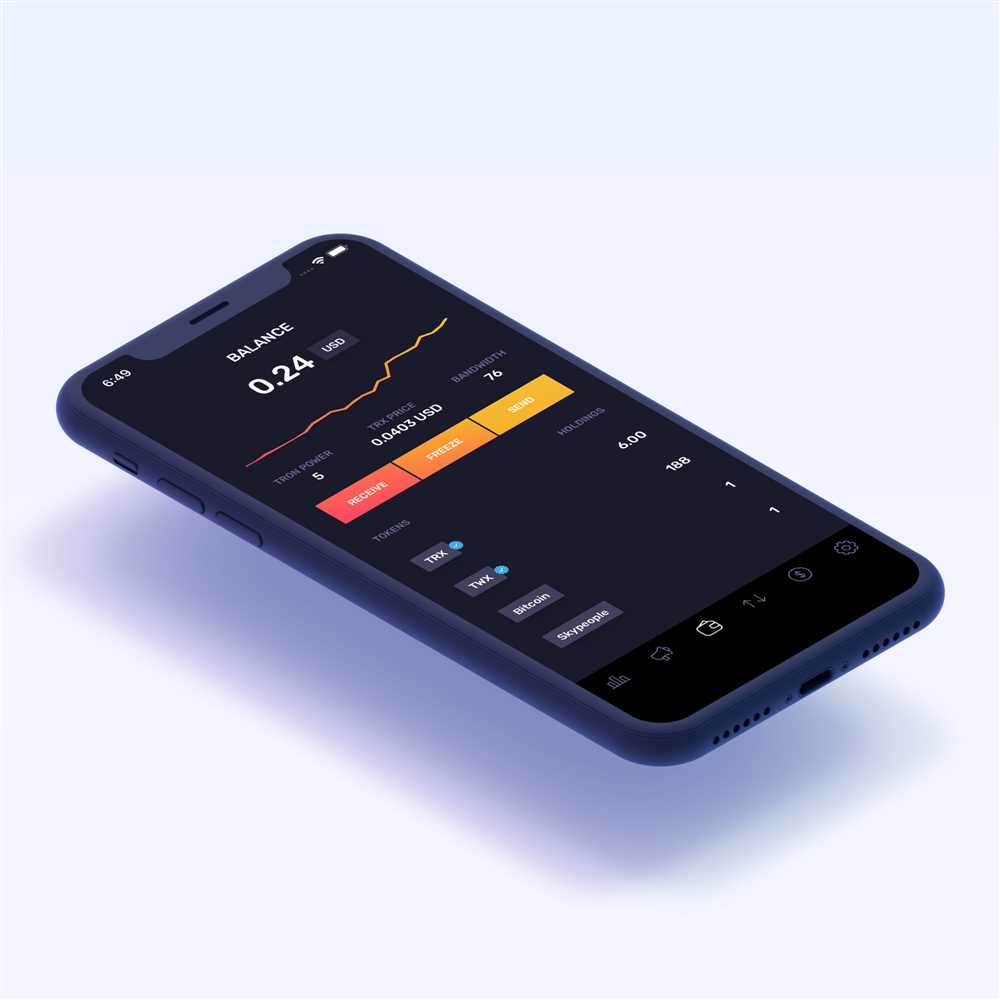
Once you’ve created your wallet, you can access it by entering your password or using biometric authentication, such as fingerprint or face ID. After logging in, you’ll see your wallet’s home screen, which provides an overview of your TRX balance and recent transactions.
Step 4: Sending and Receiving TRX
Now that you have your Tronwallet set up, you can start sending and receiving TRX. To receive TRX, simply share your wallet’s address with the sender. To send TRX, tap on the “Send” button, enter the recipient’s address, specify the amount, and hit send! It’s that easy.
Step 5: Exploring the Tron Ecosystem
As you become more comfortable using Tronwallet, you can begin exploring the Tron ecosystem. Tronwallet provides access to the Tron blockchain, where you can participate in decentralized applications, interact with smart contracts, and explore the world of TRC-10 and TRC-20 tokens.
Remember, cryptocurrency is a rapidly evolving space, so it’s important to stay informed and follow best practices for security, such as enabling two-factor authentication and keeping your wallet’s seed phrase safe. Now that you have the basics, go ahead and start your journey with Tronwallet!
What is Tronwallet?

Tronwallet is a decentralized wallet that allows users to securely store, manage, and transfer their TRON (TRX) cryptocurrency. It provides a user-friendly interface and a set of features that make it easy for beginners to get started with TRON.
Tronwallet is built on the TRON blockchain, which is a decentralized platform that aims to revolutionize the entertainment industry. It offers fast and scalable transaction processing, making it ideal for applications such as gaming and content sharing.
With Tronwallet, users have full control over their funds and private keys, meaning they are not held or controlled by any third party. This enhances the security and privacy of users’ funds, reducing the risk of hacks or thefts.
In addition to storing and managing TRON, Tronwallet also allows users to interact with decentralized applications (dApps) built on the TRON blockchain. Users can easily access and use various dApps, such as games, social media platforms, and decentralized exchanges, all within the Tronwallet interface.
Tronwallet is available as a mobile app for both iOS and Android devices, making it convenient for users to manage their TRON on the go. The app features a simple and intuitive design, making it beginner-friendly and accessible to users with no prior experience in cryptocurrency.
| Key Features of Tronwallet: |
| – Securely store and manage TRON (TRX) cryptocurrency |
| – Fast and scalable transaction processing on the TRON blockchain |
| – Full control over funds and private keys |
| – Interact with decentralized applications (dApps) |
| – Available as a mobile app for iOS and Android |
Creating Your Tronwallet Account
To get started with Tronwallet, you first need to create an account. Follow these steps to create your Tronwallet account:
1. Download the Tronwallet app from the App Store or Google Play Store.
2. Open the app and click on the “Create Account” button on the home screen.
3. Read and accept the terms and conditions for using Tronwallet.
4. Set a secure password for your Tronwallet account. Make sure to choose a strong password that includes a combination of letters, numbers, and special characters.
5. Back up your account by writing down the 12-word seed phrase provided by Tronwallet. This seed phrase is used to recover your account in case you lose access to your device.
6. Confirm your seed phrase by selecting the words in the correct order.
7. Your Tronwallet account is now created and ready to use. You can start exploring the various features and functionalities of Tronwallet to send, receive, and store TRX and other TRC-based tokens.
Remember to keep your password and seed phrase safe and never share them with anyone. This will help ensure the security of your Tronwallet account and funds.
Securing Your Tronwallet
When it comes to using Tronwallet, ensuring the security of your digital assets is extremely important. Here are some key steps you can take to secure your Tronwallet:
- Use a Strong Password: Choose a password that is unique, complex, and not easily guessed. Avoid using common words or personal information.
- Enable Two-Factor Authentication (2FA): By enabling 2FA, you add an extra layer of security to your Tronwallet. This requires you to provide an additional verification code when accessing your wallet.
- Backup Your Wallet: Regularly backup your Tronwallet to ensure that you can restore your funds in case of loss, theft, or device failure.
- Keep Your Software Up to Date: Always update your Tronwallet software to the latest version to benefit from the latest security enhancements and bug fixes.
- Be Cautious with Phishing Attempts: Be vigilant and avoid clicking on suspicious links or providing personal information to untrusted sources. Phishing attempts can lead to loss of funds.
- Use Hardware Wallets: Consider using hardware wallets such as Ledger or Trezor to store your Tron assets offline. Hardware wallets provide an extra layer of security by keeping your private keys isolated from the internet.
- Double-Check the Recipient’s Address: Before sending any funds, always double-check the recipient’s address to ensure it is correct. Sending funds to the wrong address may result in irreversible loss.
By following these security measures, you can enhance the safety of your Tronwallet and protect your digital assets from unauthorized access.
Using Tronwallet for Transactions

Tronwallet is a user-friendly cryptocurrency wallet that allows users to send and receive TRX and other TRC-10 and TRC-20 tokens. Conducting transactions using Tronwallet is simple and secure.
Sending TRX or Tokens

To send TRX or tokens using Tronwallet, follow these steps:
- Open the Tronwallet app and sign in to your account.
- Click on the “Send” button in the bottom menu.
- Enter the recipient’s address in the designated field. Make sure to double-check the address to avoid sending your cryptocurrency to the wrong recipient.
- Specify the amount of TRX or tokens you want to send.
- Choose the TRC-10 or TRC-20 token you want to send, if applicable.
- Review the transaction details and confirm the transaction by clicking on the “Send” button.
- Wait for the transaction to be confirmed on the Tron blockchain. This may take a few seconds to a few minutes, depending on network congestion.
Receiving TRX or Tokens

To receive TRX or tokens using Tronwallet, follow these steps:
- Open the Tronwallet app and sign in to your account.
- Click on the “Receive” button in the bottom menu.
- Select the TRC-10 or TRC-20 token you want to receive, if applicable.
- Copy your wallet address or scan the QR code to receive the funds.
- Share your wallet address or QR code with the sender.
- Wait for the sender to initiate the transaction, and the funds will be automatically deposited into your Tronwallet.
Using Tronwallet for transactions is a convenient and secure way to send, receive, and manage your TRX and TRC-10/20 tokens. Make sure to double-check all transaction details to ensure accuracy.
| Key Features | Benefits |
|---|---|
| Easy-to-use interface | Simplifies the process of sending and receiving TRX and tokens |
| Secure storage | Protects your cryptocurrency assets |
| Integration with TRC-10 and TRC-20 tokens | Allows you to manage different tokens within the same wallet |
What is Tronwallet?
Tronwallet is a mobile wallet application that allows users to store, send, and receive TRX and other TRC tokens on the TRON blockchain.
How can I download and install Tronwallet?
To download and install Tronwallet, go to the iOS App Store or Google Play Store and search for “Tronwallet”. Once you find the app, click “Install” and wait for it to download and install on your device.
Is Tronwallet a safe and secure wallet?
Yes, Tronwallet prioritizes the safety and security of its users’ funds. It uses industry-standard security measures such as encryption and secure key storage to protect user data and assets.
Can I use Tronwallet to participate in TRON decentralized applications?
Yes, Tronwallet allows users to access and interact with TRON decentralized applications (dApps) directly from their mobile devices. Users can browse, discover, and use various dApps within the Tronwallet app.
What are the fees for using Tronwallet?
Tronwallet itself does not charge any fees for basic wallet functions such as storing and transferring TRX and TRC tokens. However, there may be network fees associated with the TRON blockchain when sending transactions.