
Welcome to the complete guide on how to use Metamask with the Tron blockchain. If you are a cryptocurrency enthusiast or a developer looking to explore the Tron network, using Metamask can provide you with a seamless and user-friendly experience. Metamask is a popular browser extension wallet that allows users to interact with decentralized applications (dApps) on various blockchains, including Tron.
What is Metamask?
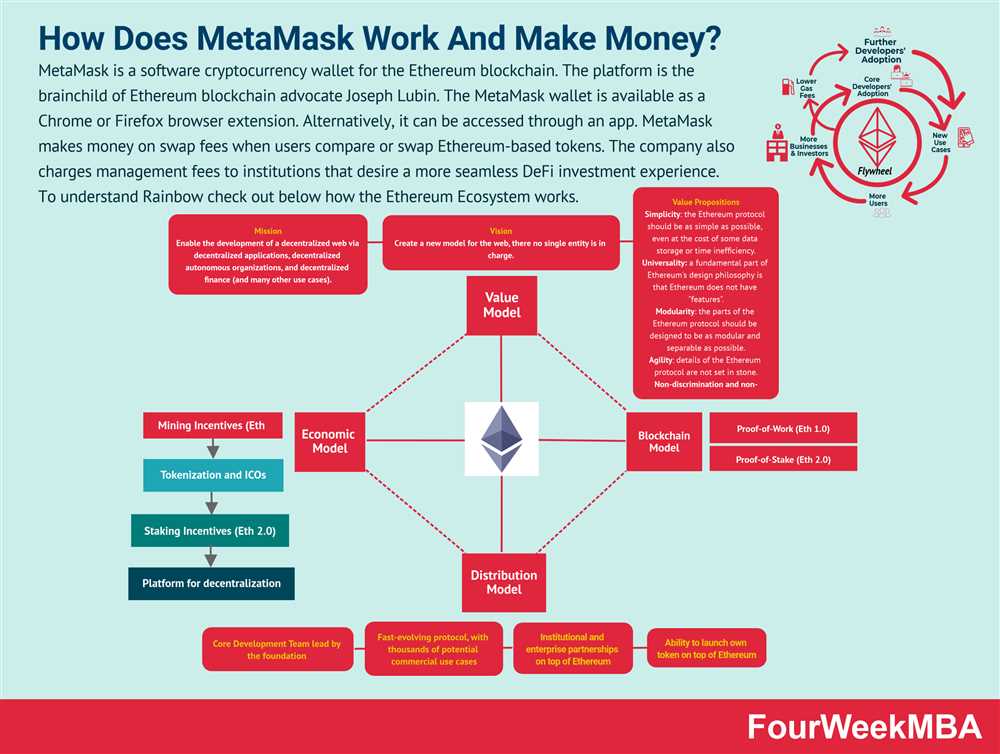
Metamask is a cryptocurrency wallet and browser extension that enables users to access the world of decentralized applications. It acts as a bridge between traditional web browsers and the blockchain, allowing users to securely manage their digital assets and interact with dApps. With Metamask, you can store, send, and receive Tron tokens, as well as connect with numerous dApps built on the Tron network.
Getting Started with Metamask and Tron:
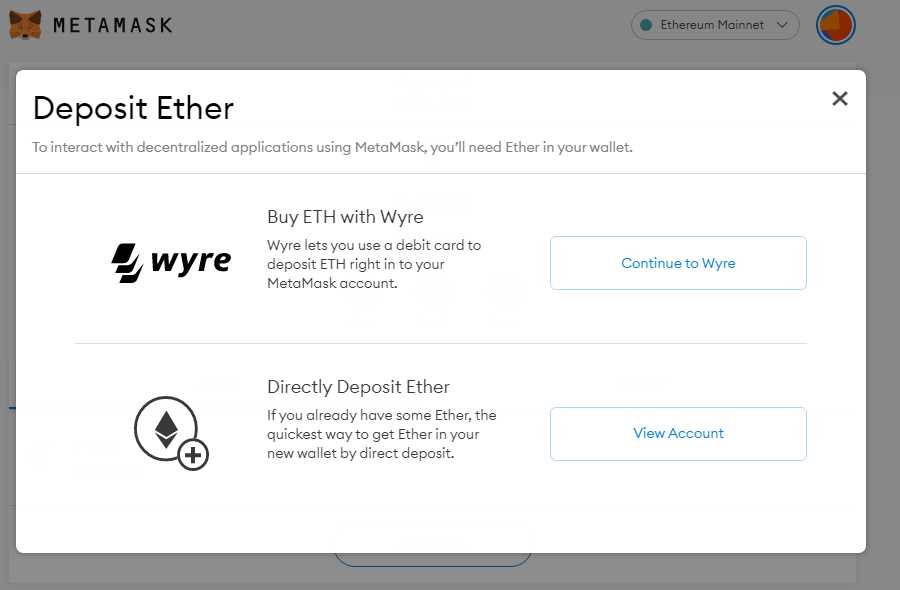
1. Download Metamask: Visit the Metamask website and add the extension to your preferred web browser. Once installed, you will see the Metamask icon in your browser toolbar.
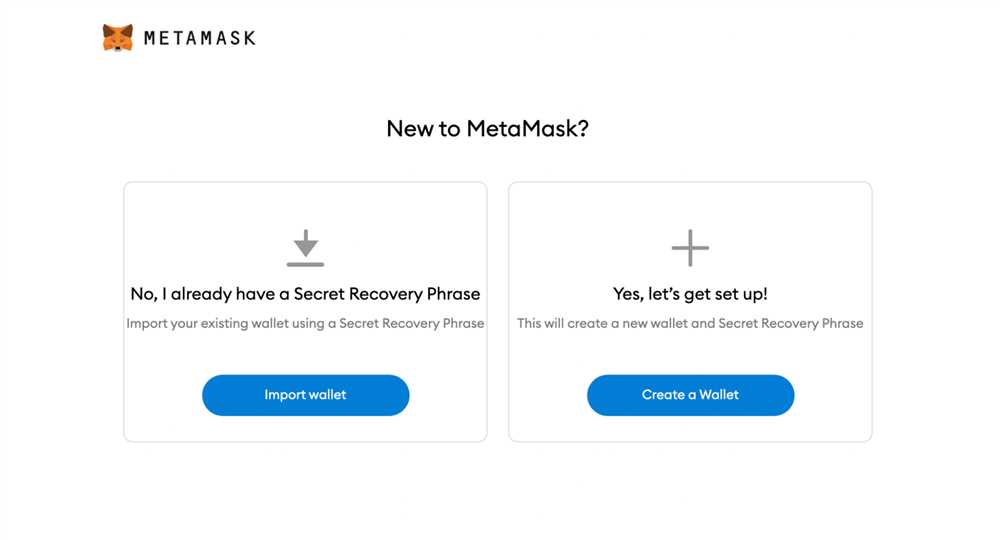
2. Create a Metamask Wallet: Click on the Metamask icon and follow the instructions to create a new wallet. Be sure to save your seed phrase, as this will be crucial for wallet recovery. Set up a strong password to secure your wallet.
3. Connect to the Tron Network: By default, Metamask is configured to the Ethereum network. To connect to the Tron blockchain, click on the network dropdown menu in the top center of the Metamask extension and select “Custom RPC.”
4. Add Tron Network Details: In the Custom RPC settings, enter the Tron network details. Provide a name for the network, such as “Tron Mainnet.” For the RPC URL, use “https://api.trongrid.io” and set the chain ID to 1. Click “Save” to apply the changes.
5. Import your Tron Wallet: If you already have a Tron wallet, you can import it into Metamask by clicking on “Import Account” in the Metamask extension. Enter your wallet private key or keystore file to import your Tron wallet. Ensure that your private key is kept secure and never shared.
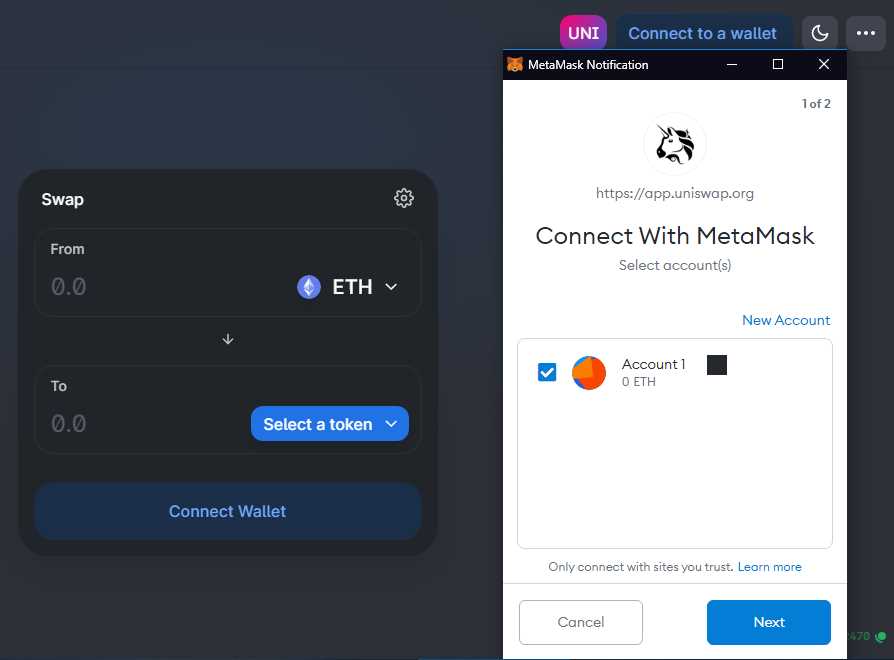
6. Start using Metamask with Tron: Now that you have successfully connected Metamask to the Tron network, you can start using it with dApps and manage your Tron tokens. Explore the Tron dApp ecosystem and enjoy the benefits of decentralized finance, gaming, and much more.
Remember to exercise caution and be mindful of security when using Metamask or any cryptocurrency wallet. Always verify the authenticity of dApps and websites before interacting with them and keep your wallet information confidential.
With Metamask and the Tron blockchain, you have a powerful combination at your fingertips. Start exploring the vast world of decentralized applications and experience the future of finance and technology.
Setting Up Metamask for Tron
Metamask is a popular cryptocurrency wallet that allows users to interact with decentralized applications (dapps) on various blockchains, including Tron. Setting up Metamask for Tron is a straightforward process that involves a few simple steps.
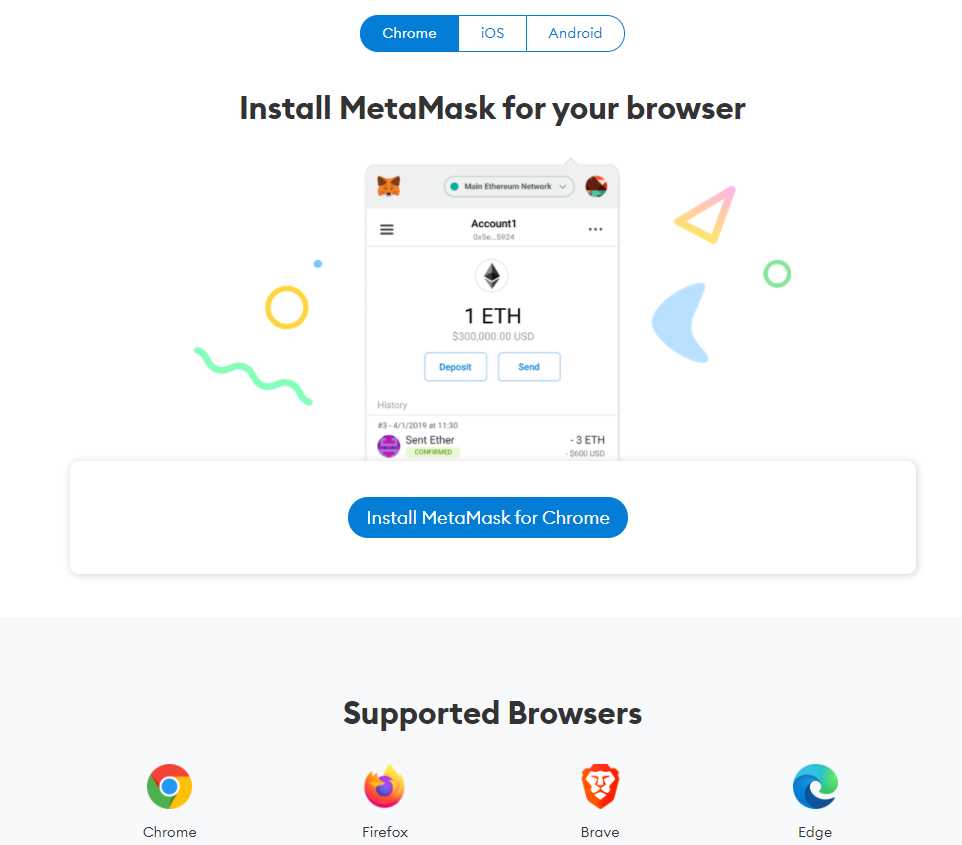
Step 1: Install the Metamask Extension

To get started, you’ll need to install the Metamask extension in your preferred web browser. Metamask is available for Chrome, Firefox, Brave, and Edge. Simply visit the respective extension store for your browser and search for “Metamask.” Click the “Install” button and follow the on-screen instructions.
Step 2: Create a New Wallet
Once you have installed Metamask, open the extension by clicking on the Metamask icon in your browser toolbar. You will be prompted to create a new wallet. Choose a strong and unique password for your wallet and click “Create.” Make sure to store your password in a safe and secure place.
Step 3: Backup your Seed Phrase
After creating your wallet, Metamask will display a seed phrase consisting of 12 or 24 words. This seed phrase is essential for recovering your wallet if you ever lose access to your Metamask account. Write down the seed phrase and keep it in a safe and offline location. Do not share it with anyone, as anyone with access to your seed phrase can gain access to your wallet.
Step 4: Connect Metamask to the Tron Network
By default, Metamask is set to the Ethereum network. To use Metamask with the Tron blockchain, you’ll need to add the Tron network to your wallet.
- Click on the Metamask extension icon and click on the account avatar in the top right corner of the extension.
- Select “Settings” from the dropdown menu.
- In the settings menu, click on “Networks” on the left sidebar.
- Click the “Add Network” button.
- Enter the following details for the Tron network:
- Network Name: Tron
- New RPC URL: https://api.trongrid.io
- ChainID: 1
- Symbol: TRX
- Block Explorer URL: https://tronscan.org
- Click “Save” to add the Tron network to Metamask.
You have now successfully set up Metamask for the Tron blockchain. You can now use Metamask to interact with Tron dapps and manage your TRX tokens securely.
Connecting Metamask to the Tron Blockchain
Metamask is a popular cryptocurrency wallet and browser extension that allows users to interact with various blockchains. While initially designed for the Ethereum blockchain, Metamask now offers support for other blockchains, including Tron.
To connect Metamask to the Tron blockchain, follow these simple steps:
- Download and install the Metamask browser extension if you haven’t done so already. Metamask is available for Google Chrome, Mozilla Firefox, and Brave browsers.
- Once installed, click on the Metamask icon in your browser’s toolbar to open the wallet. If it’s your first time using Metamask, you’ll need to create a new wallet and set a password. Make sure to securely store your password and backup your wallet.
- After setting up your wallet, click on the network switcher at the top of the Metamask popup window. By default, it should be set to the Ethereum Mainnet.
- In the network switcher, select “Custom RPC” to manually configure a custom network.
- In the custom network settings, enter the following details to connect to the Tron blockchain:
- Network Name: Tron
- New RPC URL: https://api.trongrid.io/
- Chain ID: 1 (Tron’s main network ID)
- Symbol: TRX
- Block Explorer URL: https://tronscan.org/
- Click “Save” to save the custom network configuration.
- Metamask is now connected to the Tron blockchain. You can switch between different networks by using the network switcher in the Metamask popup window.
Note: It’s important to be cautious when using Metamask and interacting with blockchain applications. Always double-check the URLs, contract addresses, and transaction details to ensure you’re interacting with the correct network and dApps.
By following these steps, you can easily connect Metamask to the Tron blockchain and start using Tron-based dApps and tokens with your Metamask wallet.
Sending and Receiving TRX using Metamask
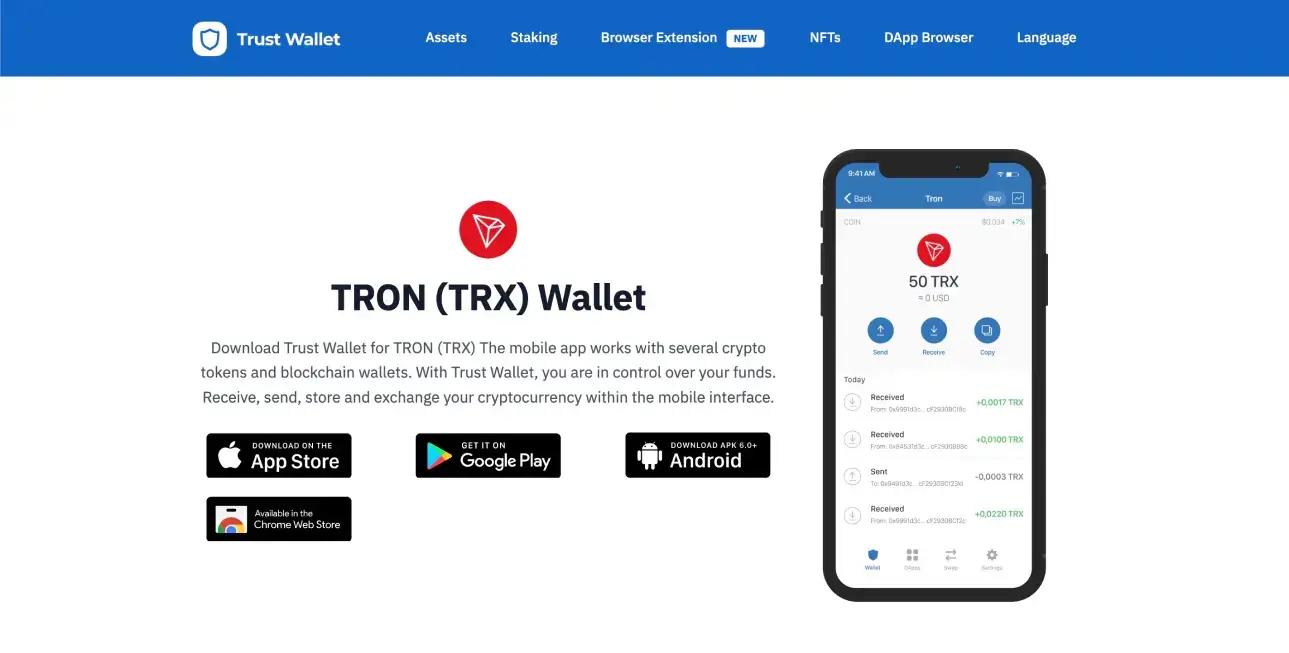
Metamask is a popular browser extension wallet that allows users to interact with the Tron blockchain. One of the key functions of Metamask is the ability to send and receive TRX, the native cryptocurrency of the Tron network.
Sending TRX
To send TRX using Metamask, follow these simple steps:
- Open your Metamask wallet by clicking on the extension icon in your browser toolbar.
- Unlock your wallet by entering your password or using any other authentication method you have set up.
- Click on the “Send” button in the Metamask interface.
- Enter the recipient’s wallet address in the “To” field. Make sure to double-check the address to avoid any mistakes.
- Specify the amount of TRX you want to send in the “Amount” field.
- Review the transaction details and double-check the fee amount.
- Click on the “Next” button to confirm the transaction.
- Review the transaction once again and click on the “Confirm” button.
- Wait for the transaction to be processed and confirmed by the Tron network.
Once the transaction is confirmed, the TRX will be successfully sent to the recipient’s wallet address.
Receiving TRX
To receive TRX using Metamask, follow these steps:
- Open your Metamask wallet by clicking on the extension icon in your browser toolbar.
- Copy your wallet address by clicking on the “Copy” button next to it.
- Share your wallet address with the person or platform that wants to send you TRX.
- Wait for the TRX to be sent to your wallet address.
Once the TRX is sent to your wallet address, it will automatically appear in your Metamask wallet balance.
| Wallet Address | TRX Balance |
|---|---|
| 0x123456789ABCDEF | 1000 TRX |
Make sure to double-check your wallet address before sharing it to avoid any errors or loss of funds.
What is Metamask?
Metamask is a browser extension that allows users to interact with the Ethereum blockchain. It provides a wallet interface to store and manage digital assets, as well as a bridge to connect with decentralized applications (dApps).
Can I use Metamask with the Tron blockchain?
Yes, Metamask recently added support for the Tron blockchain. Users can now switch networks within Metamask and interact with Tron dApps using their Metamask wallet.
How do I connect Metamask with the Tron blockchain?
To connect Metamask with the Tron blockchain, you need to add the Tron network to Metamask. In the Metamask extension, click on the network dropdown menu and select “Custom RPC”. Then, enter the Tron network details, including the RPC URL and the chain ID.