
Are you new to the world of cryptocurrency and looking to explore the Tron network? Setting up and using a Tron web wallet is a great place to start. A Tron web wallet allows you to securely store your TRX and interact with the Tron blockchain. In this step-by-step tutorial, we will walk you through the process of setting up a Tron web wallet and show you how to use it to send and receive TRX.
Step 1: Choose a Tron Web Wallet
There are several Tron web wallets available, so it’s important to choose one that suits your needs. Some popular options include TronLink, TronPay, and Math Wallet. Visit their websites and choose the one that you find most user-friendly and secure.
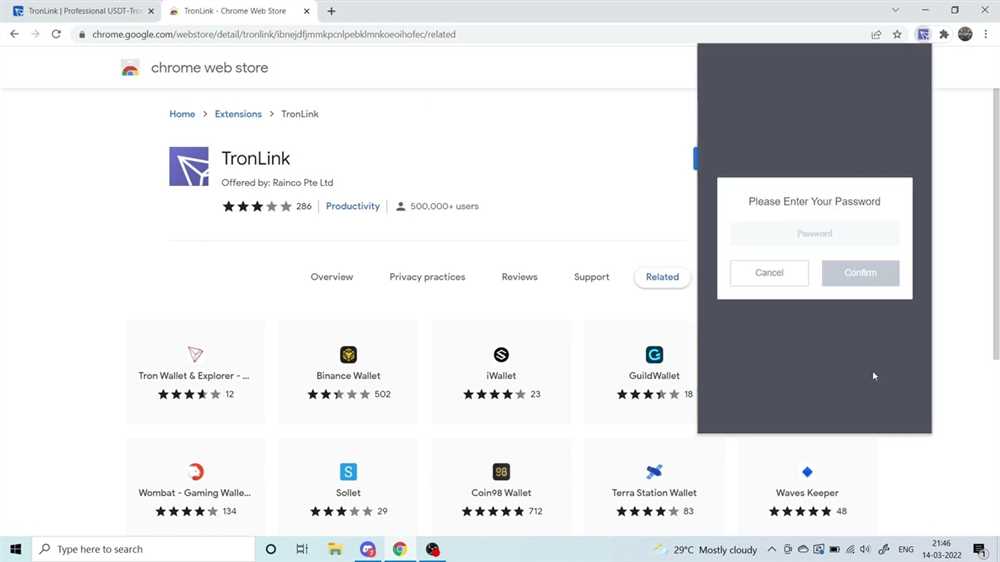
Step 2: Install the Tron Web Wallet Extension
Once you have chosen a Tron web wallet, you will need to install the corresponding browser extension. Most Tron web wallets are available as browser extensions for Chrome and other popular browsers. Simply visit the extension store for your browser and search for the name of your chosen Tron web wallet. Click on the install button and follow the on-screen instructions to complete the installation.
Step 3: Create a New Wallet
After you have installed the Tron web wallet extension, you will need to create a new wallet. Click on the wallet icon in your browser toolbar and select the option to create a new wallet. You will be asked to set a password for your wallet. Make sure to choose a strong password and keep it safe.
Step 4: Back Up Your Wallet
Once you have created your wallet, it’s crucial to back it up. Your wallet contains the private keys that give you access to your TRX, so losing them could result in permanent loss of your funds. Most Tron web wallets will provide you with a recovery phrase or a private key file that you should save securely. Make sure to follow the instructions provided by your chosen wallet to back up your wallet properly.
Step 5: Start Using Your Tron Web Wallet
Now that you have set up your Tron web wallet and backed it up, you can start using it to send and receive TRX. You can use your wallet to interact with decentralized applications (dApps) built on the Tron network, participate in token sales, and more. Simply access your wallet from the browser toolbar, enter your password, and explore the various features and functionalities of your Tron web wallet.
Setting up and using a Tron web wallet is a straightforward process that can open up a world of possibilities in the Tron ecosystem. Follow this step-by-step tutorial to get started and enjoy the benefits of secure TRX storage and blockchain interaction.
An Overview of Tron Web Wallet
A Tron Web Wallet is a digital wallet that allows users to securely store, manage, and interact with their Tron (TRX) cryptocurrency. It provides a user-friendly interface for accessing the Tron blockchain and performing various transactions, such as sending and receiving TRX, accessing decentralized applications (DApps), and participating in voting and governance processes.
Tron Web Wallets are often preferred by beginners and casual users due to their ease of use and convenience. They eliminate the need for users to run a full node and manually manage their private keys, making it a more accessible option for those new to blockchain technology.
When setting up a Tron Web Wallet, users are typically required to create an account by generating a new wallet address and securely storing the corresponding private key or mnemonic phrase. The wallet address acts as their unique identifier on the Tron blockchain and is used for sending and receiving TRX and other tokens.
Once set up, users can access their Tron Web Wallet through various mediums, including web-based interfaces, mobile apps, or browser extensions. These wallets often provide additional features, such as integration with hardware wallets for enhanced security, multi-signature support, and compatibility with various blockchain networks.
Benefits of Using a Tron Web Wallet
- Convenience: Tron Web Wallets offer a convenient and user-friendly way to access and manage Tron cryptocurrency.
- Security: By securely storing private keys and providing enhanced security features, Tron Web Wallets help protect users’ funds and sensitive information.
- Access to DApps: Tron Web Wallets enable users to easily access and interact with decentralized applications built on the Tron blockchain.
- Compatibility: Tron Web Wallets are compatible with various devices and platforms, allowing users to access their wallets from different devices.
- Voting and Governance: Tron Web Wallets often provide features for participating in voting and governance processes on the Tron blockchain, allowing users to have a say in the network’s decision-making.
Overall, a Tron Web Wallet is an essential tool for anyone looking to engage with the Tron blockchain, providing a secure and convenient way to manage their Tron assets and participate in the growing Tron ecosystem.
Setting Up a Tron Web Wallet
Setting up a Tron web wallet is a simple and straightforward process. By following these step-by-step instructions, you will be able to create your own wallet and start using Tron cryptocurrency.
Step 1: Go to the official Tron website and click on the “Wallet” option in the top navigation menu.
Step 2: On the Wallet page, you will see a list of Tron web wallets available. Choose the one that suits your needs and click on the “Sign Up” or “Create Wallet” button.
Step 3: Fill in the required information, such as your email address and password, to create your account. Make sure to choose a strong password that is unique and not easily guessable.
Step 4: After filling in the information, click on the “Sign Up” or “Create Account” button to proceed.
Step 5: Once your account is created, you will be prompted to verify your email address. Check your email inbox and click on the verification link provided in the email sent by the Tron web wallet service.
Step 6: After verifying your email, you will be able to access your newly created Tron web wallet. Make sure to keep your login credentials safe and secure.
Step 7: Your Tron web wallet will come with a unique wallet address, which you can use to send and receive Tron cryptocurrency. It is recommended to copy and save this address in a secure location.
Step 8: To start using your Tron web wallet, you can transfer Tron cryptocurrency to your wallet address from an exchange or another wallet.
Step 9: Once you have Tron cryptocurrency in your web wallet, you can use it for various purposes, such as making transactions, staking, or participating in decentralized applications (DApps) built on the Tron network.
With these simple steps, you can set up and start using a Tron web wallet. Remember to always practice good security measures to protect your funds and personal information.
Creating an Account
Before you can start using a Tron web wallet, you need to create an account. Follow these steps to create your Tron account:
Step 1: Visit the Tron Web Wallet website
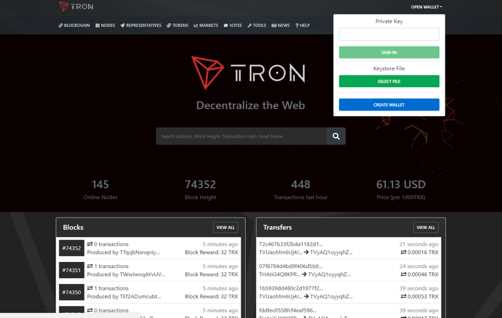
Open your preferred web browser and go to the official Tron Web Wallet website.
Step 2: Click on “Create Account”
On the homepage of the Tron Web Wallet website, click on the “Create Account” button to begin the account creation process.
| Note: | Make sure you are visiting the official Tron Web Wallet website to avoid scams or phishing attempts. |
Step 3: Choose a Strong Password
After clicking on “Create Account”, you will be prompted to choose a password for your Tron web wallet. Make sure to choose a strong and unique password to ensure the security of your account.
Step 4: Back Up Your Seed Phrase
Once you have chosen a password, the next step is to back up your seed phrase. This seed phrase is a set of 12 or 24 words that can be used to restore your wallet in case you forget your password or lose access to your account. Write down the seed phrase in a safe and secure place, preferably offline.
Step 5: Verify your Seed Phrase
After backing up your seed phrase, you will be asked to verify it by selecting the words in the correct order. This is an additional security measure to ensure that you have properly saved your seed phrase.
Step 6: Complete the Account Creation
Once you have verified your seed phrase, your Tron web wallet account will be successfully created. You can now access and manage your TRX tokens using your newly created account.
Congratulations! You have successfully created your Tron web wallet account. Remember to keep your password and seed phrase secure to protect your funds.
Setting Up Security Measures
When setting up a Tron web wallet, it is crucial to prioritize security measures to ensure the safety of your funds. Here are some essential steps to take:
1. Generate a strong password: Choose a unique and complex password that consists of a combination of uppercase and lowercase letters, numbers, and special characters. Avoid using easily guessable information such as your name, birthdate, or common phrases.
2. Enable two-factor authentication: Two-factor authentication adds an extra layer of security to your wallet. Enable this feature by linking your wallet to a mobile app or email address that generates unique codes for verifying your identity whenever you log in.
3. Enable email notifications: By enabling email notifications, you will receive alerts whenever there are any changes or transactions made in your wallet. This can help you detect any unauthorized access or suspicious activities promptly.
4. Backup your wallet: Make sure to back up your wallet’s private key or mnemonic phrase and store it securely offline. This backup will allow you to restore your wallet in case of a lost or stolen device.
5. Keep your wallet software up-to-date: Regularly check for wallet software updates and install them promptly. These updates often include security patches that protect your wallet from potential vulnerabilities.
6. Beware of phishing attempts: Be cautious of phishing attempts which are fraudulent attempts to obtain your wallet information. Always double-check the website’s URL before entering any sensitive information and avoid clicking on suspicious links or downloading unverified software.
7. Use a hardware wallet: For added security, consider using a hardware wallet to store your TRX and other cryptocurrencies. Hardware wallets provide an offline storage solution, keeping your private keys offline and away from potential online threats.
By following these security measures, you can significantly reduce the risk of unauthorized access to your Tron web wallet and protect your funds from potential security breaches.
Using a Tron Web Wallet
Once you have set up your Tron web wallet, you can start using it to manage your TRX tokens and interact with the Tron blockchain. Here are the steps to follow:
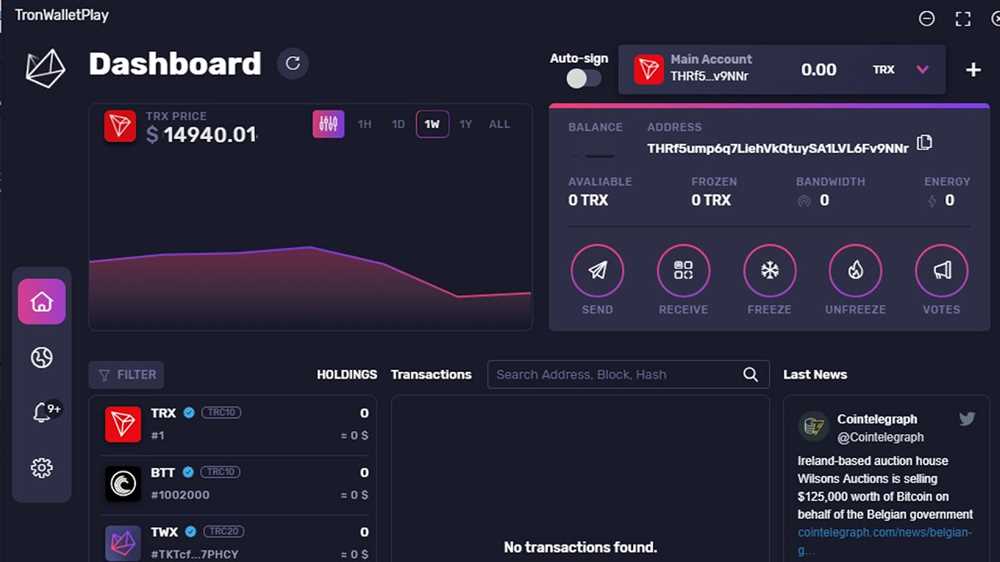
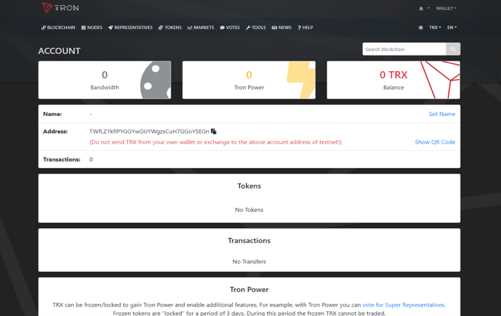
1. Logging In: Open your Tron web wallet and enter your login credentials. This typically includes your wallet address and password. Once authenticated, you will have access to your wallet’s dashboard.
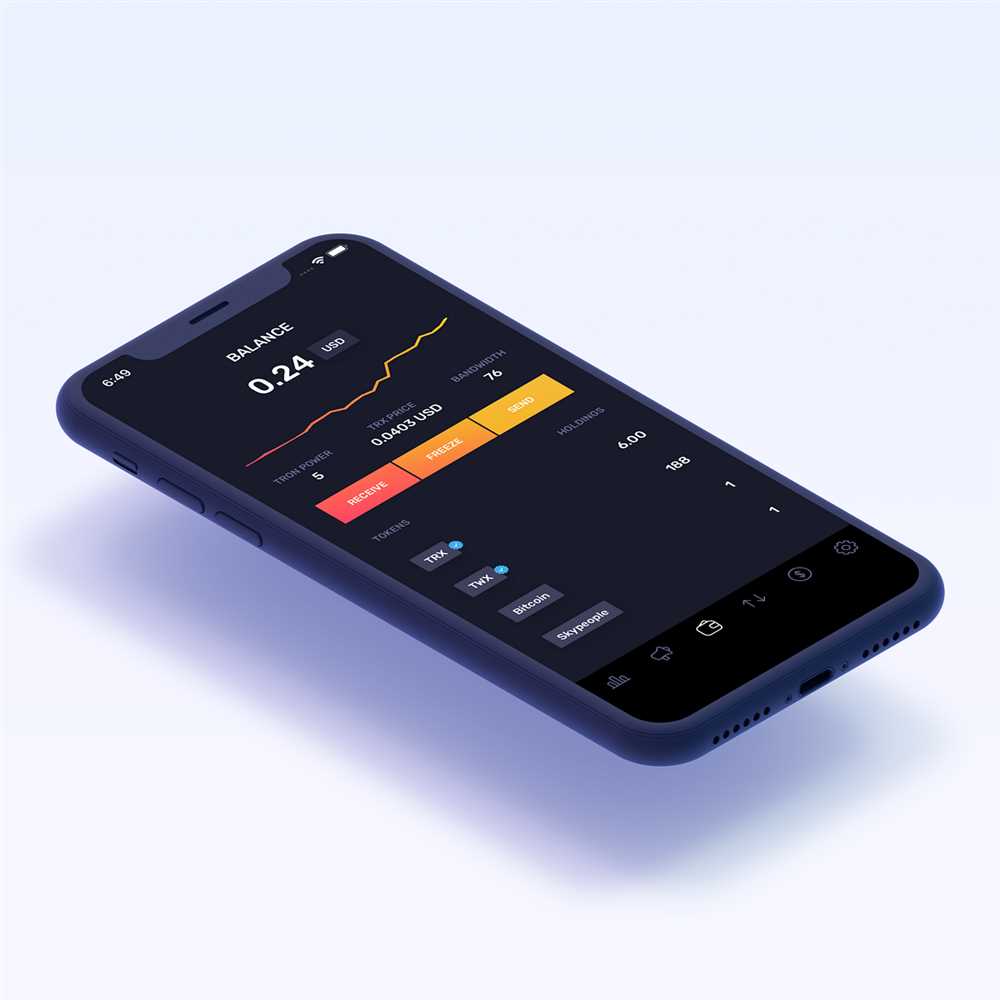
2. Balance Overview: The dashboard of your Tron web wallet will display an overview of your TRX token balance. It will show the total amount of TRX tokens you currently hold.
3. Transactions History: In your wallet’s dashboard, you can view the history of all your transactions. This includes both incoming and outgoing transactions. The transaction history will show details such as the recipient/sender address, amount, and timestamp of each transaction.
4. Sending TRX: To send TRX tokens to someone else, navigate to the “Send” or “Transfer” section of your web wallet. Enter the recipient’s Tron address, specify the amount of TRX you want to send, and click on the “Send” button. Confirm the transaction details and enter your wallet password to complete the transaction.
5. Receiving TRX: If you want to receive TRX tokens from someone else, provide them with your Tron address. They can input your address as the recipient when sending TRX tokens to you. Once the transaction is confirmed on the blockchain, the TRX tokens will appear in your web wallet’s balance.
6. DApp Integration: Tron web wallets often support integration with decentralized applications (DApps). This enables you to interact with various Tron-based DApps directly from your wallet. You can access and use different DApps by navigating to the relevant section in your wallet’s interface.
7. Security Measures: It is crucial to take appropriate security measures while using your Tron web wallet. This includes enabling two-factor authentication (2FA), using a strong password, and keeping your login credentials safe. Additionally, be cautious of phishing attempts and only use official or trusted web wallet applications.
8. Backing Up Your Wallet: It is highly recommended to create a backup of your Tron web wallet. This ensures that you can recover your wallet access if you lose your login credentials or encounter any technical issues. Most web wallets provide a backup option that allows you to export your wallet’s private key or seed phrase.
9. Support and Troubleshooting: If you encounter any issues or need assistance with your Tron web wallet, refer to the wallet’s documentation or reach out to their support team. They can provide guidance on resolving wallet-related problems and answer any questions you may have.
| Symbol | Name | Decimals |
|---|---|---|
| TRX | TRON | 6 |
What is a Tron Web Wallet?
A Tron Web Wallet is a digital wallet that allows users to store, manage, and transact with their TRX cryptocurrency on the Tron blockchain.
Can I use any Tron wallet to store my TRX?
Yes, you can use any Tron wallet to store your TRX. However, it is recommended to use a Tron Web Wallet as it is user-friendly and provides easy access to the Tron blockchain and decentralized applications.