
If you own TRON (TRX) cryptocurrency, it’s important to have a secure and reliable wallet to manage your funds. TronLink is a popular wallet option for TRON users, providing a user-friendly interface and advanced security features.
Managing your TRON wallet with TronLink is easy and convenient. First, you’ll need to download the TronLink extension for your preferred web browser – it’s available for popular browsers like Google Chrome and Firefox. Once installed, you can create a new wallet or import an existing one.
When setting up a new wallet, remember to choose a strong password and write down your mnemonic phrase or private key. This will be crucial for accessing your funds in case you forget your password or lose access to your wallet. Keep these backup details in a safe place, preferably offline and away from prying eyes.
TronLink offers additional security features like two-factor authentication (2FA) and hardware wallet integration. Enabling 2FA provides an extra layer of protection by requiring a verification code in addition to your password. Hardware wallet integration allows you to securely manage your TRON funds using devices like Ledger or Trezor.
Always make sure to verify the authenticity of the TronLink extension or app before downloading. Scammers often create fake wallets to steal users’ funds, so only download from official sources like the TronLink website or trusted app stores. Additionally, keep your wallet software and operating system up to date to benefit from the latest security patches and enhancements.
In conclusion, TronLink is a reliable and user-friendly wallet for managing your TRON funds. By following these best practices and taking advantage of the security features offered by TronLink, you can ensure the safety and accessibility of your TRX cryptocurrency.
Setting Up TronLink
TronLink is a popular wallet for managing your TRON cryptocurrency. Here’s a step-by-step guide on how to set it up:
1. Visit the TronLink website and download the wallet extension for your preferred browser (Chrome, Firefox, or Brave).
2. Install the extension by following the instructions provided on the TronLink website.
3. Once the extension is installed, you’ll see the TronLink icon added to your browser’s toolbar.
4. Click on the TronLink icon to open the wallet. You’ll be prompted to create a new wallet or import an existing one. Choose the option that suits you best.
5. If you choose to create a new wallet, you’ll be asked to set a password. Make sure to choose a strong, unique password and keep it safe.
6. After setting up your wallet, you’ll be provided with a 12-word mnemonic phrase. This phrase acts as a backup to your wallet and can be used to restore your funds in case you lose access to your wallet.
7. Write down the mnemonic phrase and keep it in a safe place. Do not share it with anyone. You can also choose to store it in a password manager or a hardware wallet for extra security.
8. Once your wallet is set up, you can start using it to manage your TRON funds. You can send and receive TRON, access decentralized applications (dApps), and participate in TRON’s ecosystem.
That’s it! You have successfully set up TronLink and can now securely manage your TRON wallet.
Downloading and Installing TronLink
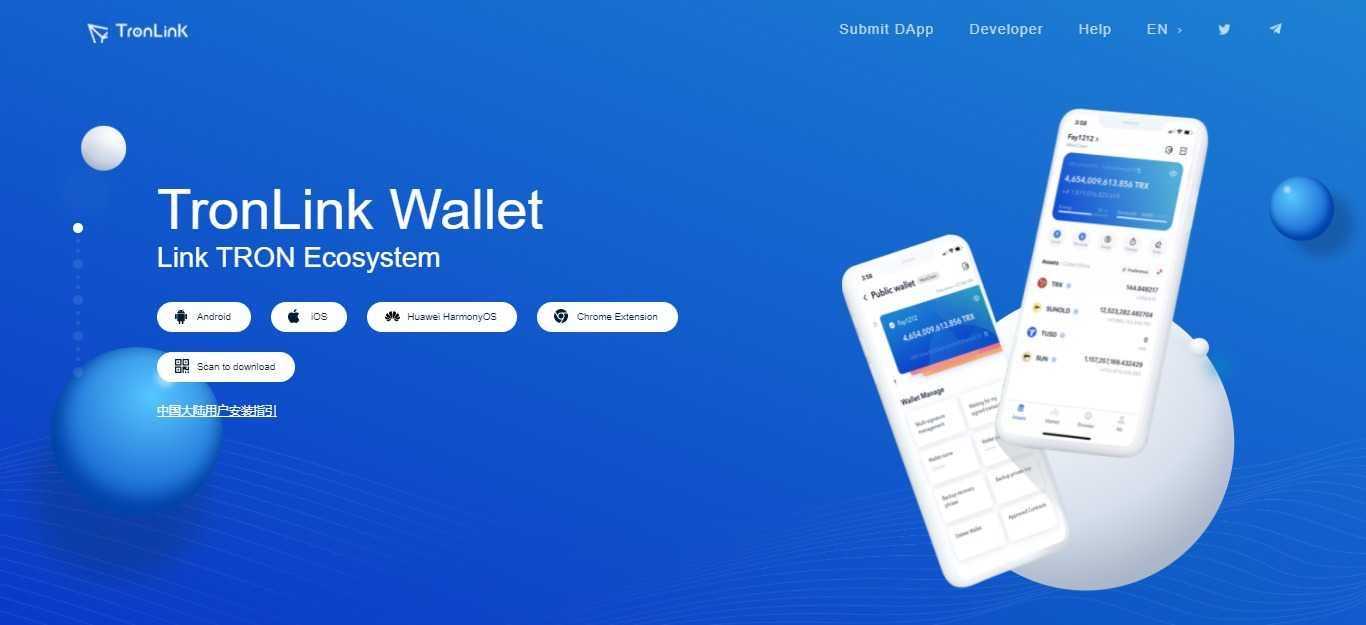
To safely manage your TRON wallet, you will need to download and install TronLink, a popular TRON wallet extension. Follow these steps to get started:
- Open your preferred web browser.
- Visit the official TronLink website by typing in the URL: www.tronlink.org.
- Once on the website, locate the download button for your browser (Chrome, Firefox, or Brave).
- Click on the download button to start the installation process.
- After the download is complete, find the installation file on your computer and double-click on it.
- Follow the on-screen instructions to proceed with the installation.
- Once the installation is complete, a TronLink icon will appear in your browser’s toolbar.
Congratulations! You have successfully downloaded and installed TronLink on your computer. It is now ready to be used for securely managing your TRON wallet.
Creating a New Wallet
To use TronLink, you first need to create a new wallet. Follow the steps below to create your own TRON wallet:
- Step 1: Install the TronLink browser extension. You can find TronLink on the Chrome Web Store.
- Step 2: Once TronLink is installed, click on the TronLink icon in your browser’s toolbar to open it.
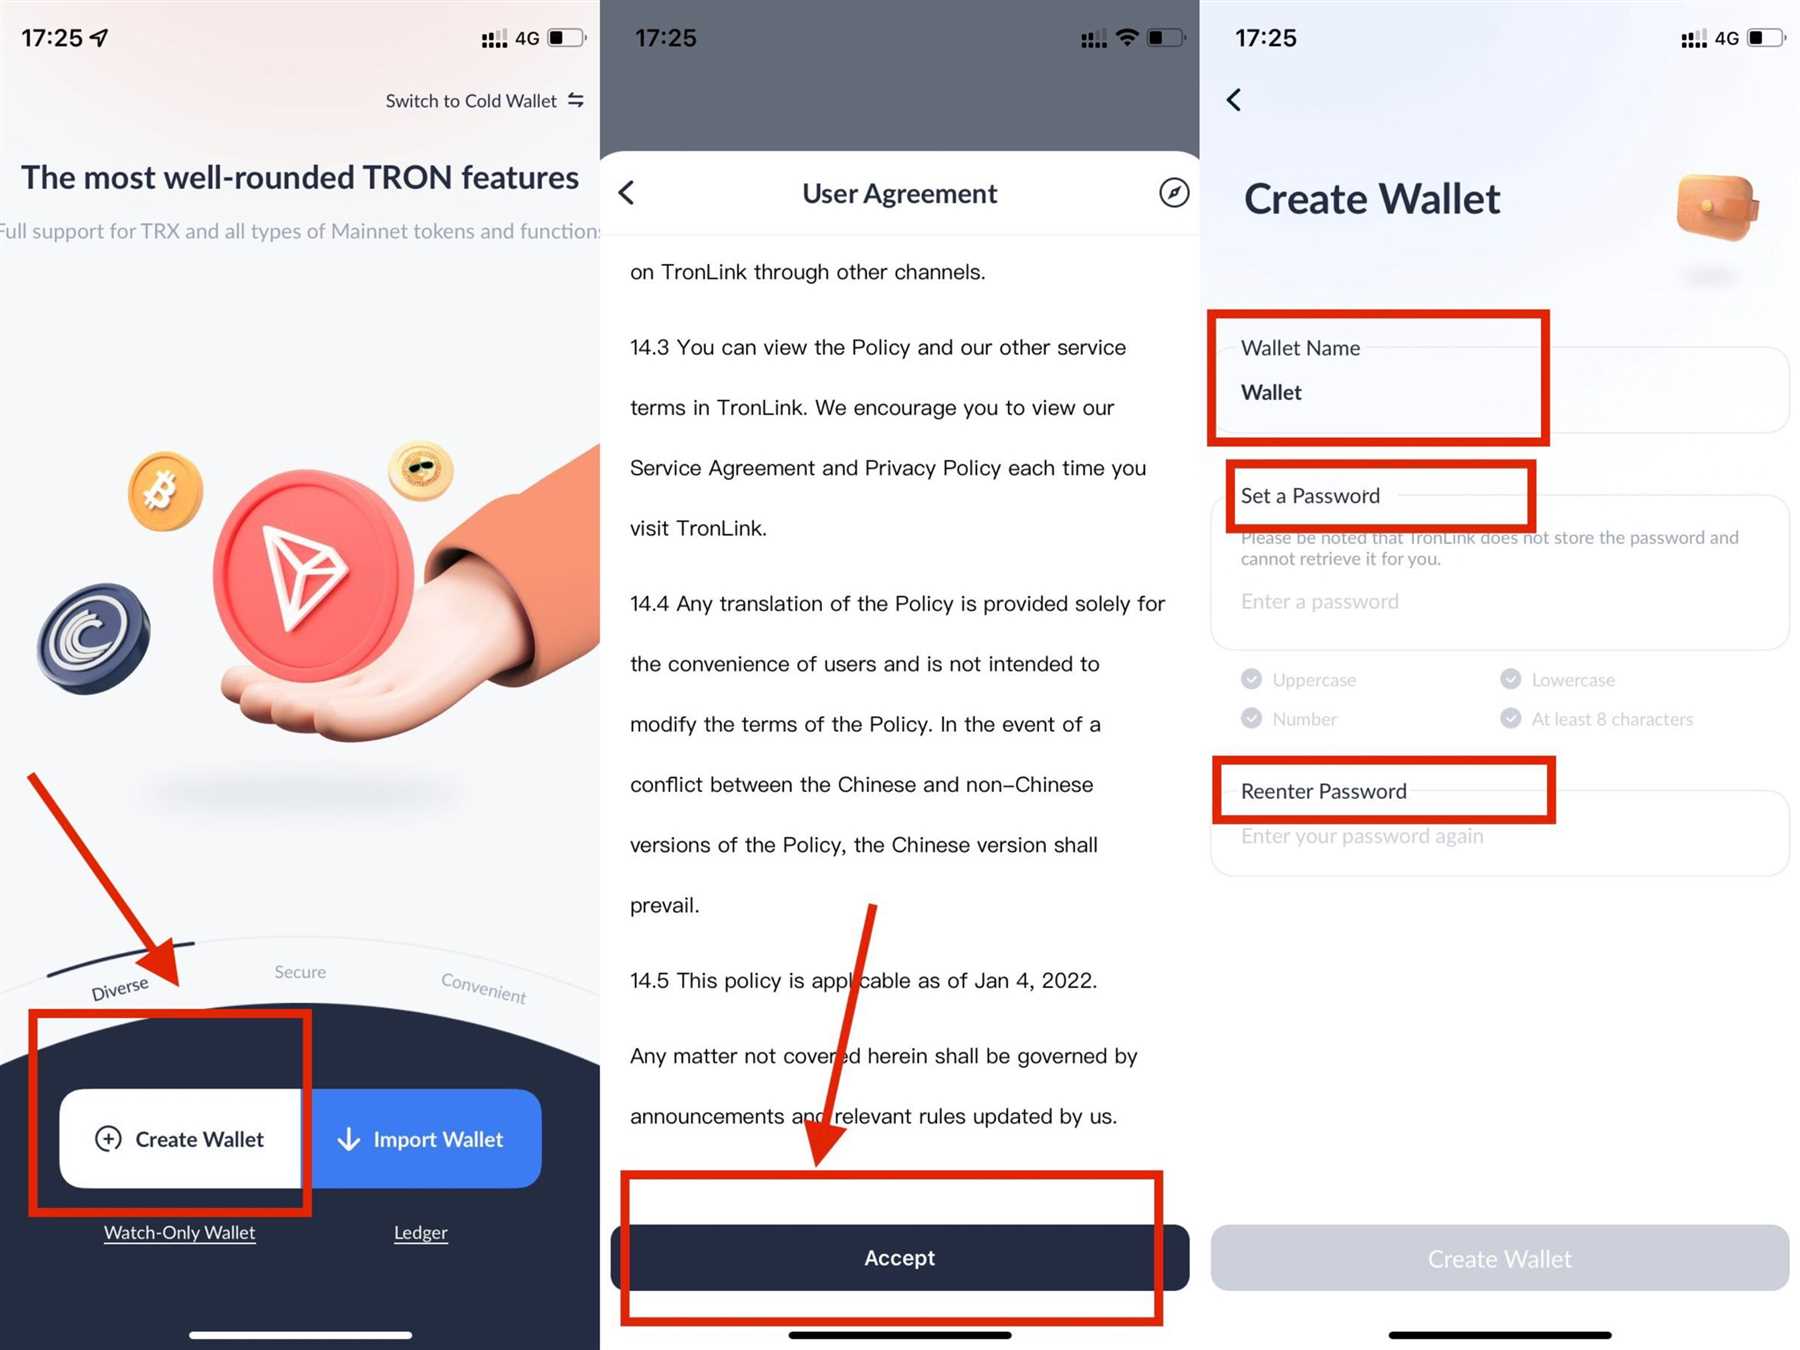
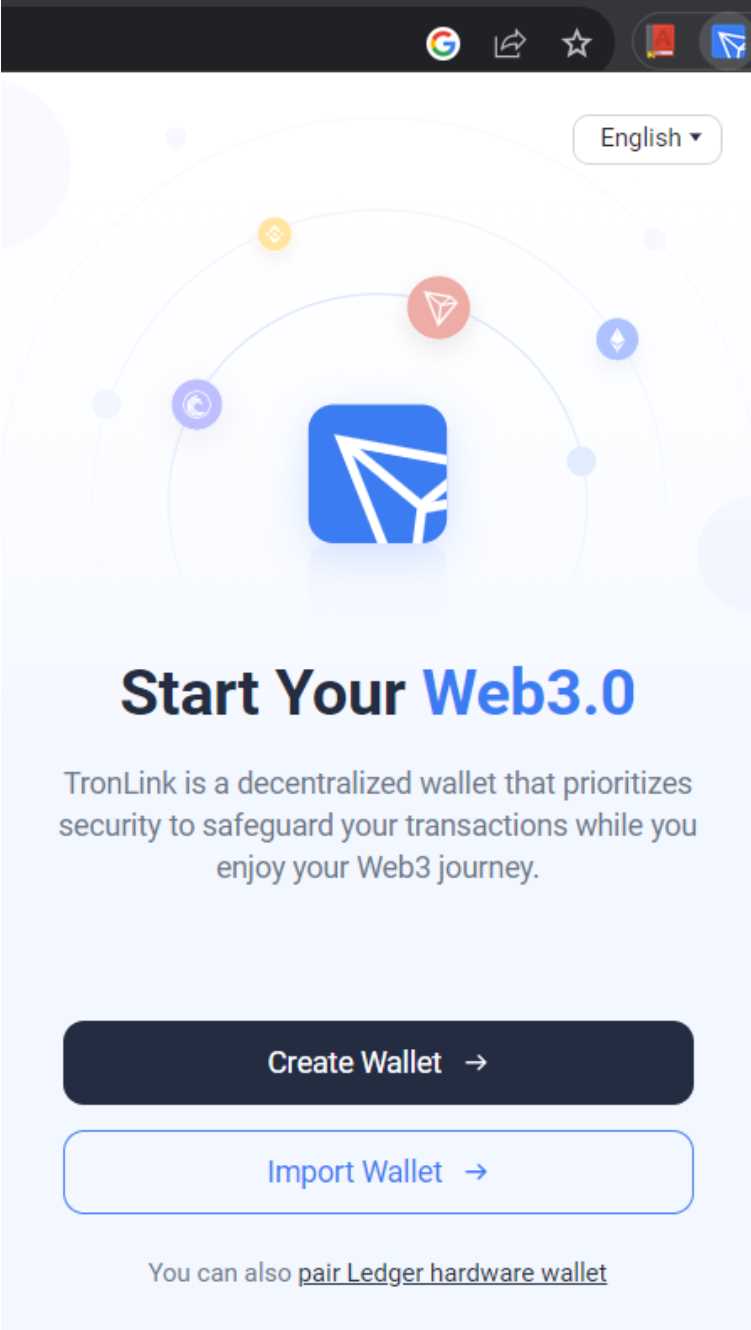
- Step 3: In the TronLink popup window, click on the “Create Wallet” button.
- Step 4: Create a strong password for your wallet. Make sure it is unique and not easily guessable.
- Step 5: Re-enter your password to confirm it.
- Step 6: Read and agree to the Terms of Service and Privacy Policy.
- Step 7: Click on the “Create Wallet” button.
- Step 8: Your new TRON wallet is now created. You will see your wallet address and private key displayed on the screen.
- Step 9: Take note of your wallet address and private key. It is important to keep them safe and secure, as they are required to access your wallet.
Once you have created your wallet, you can start using TronLink to manage your TRON assets safely and securely.
Note: It is highly recommended to store your wallet address and private key in a secure location, preferably offline or in a hardware wallet, to protect them from unauthorized access.
Managing Your TRON Wallet
Managing your TRON wallet is an important task to ensure the safety and security of your TRX tokens. Here are some tips to help you safely manage your TRON wallet using TronLink:
1. Keep your private key secure:
Your private key is like the password to your TRON wallet. It is important to keep it safe and secure. Avoid sharing your private key with anyone and never store it online or in a place where it can be easily accessed by others.
2. Enable Two-Factor Authentication (2FA):
TronLink supports Two-Factor Authentication (2FA), which adds an extra layer of security to your wallet. By enabling 2FA, you will be required to provide a second form of verification, such as a verification code or fingerprint, when performing important actions like sending funds or changing settings.
3. Regularly update your TronLink app:
Keeping your TronLink app up-to-date is essential for the security and stability of your TRON wallet. Developers often release updates to fix any bugs or security vulnerabilities, so make sure to regularly check for updates and install them when available.
4. Be cautious of phishing attempts:
Phishing attempts can trick you into revealing your private key or other sensitive information. Always double-check the URLs of websites and apps you visit to ensure they are legitimate. Avoid clicking on suspicious links or downloading unknown files.
5. Backup your wallet:
Creating a backup of your TRON wallet is important in case you lose access to your device or accidentally delete the app. TronLink allows you to create a backup phrase, which can be used to restore your wallet on a different device.
6. Use hardware wallets for large amounts:
If you have a significant amount of TRX tokens, consider using a hardware wallet for added security. Hardware wallets store your private key offline, making it much more difficult for hackers to access it.
7. Stay informed:
Stay updated with the latest news and developments in the TRON community. Following official TRON social media accounts and news outlets can help you stay informed about potential security risks or new features that could enhance the security of your TRON wallet.
By following these tips, you can effectively manage your TRON wallet and ensure the safety of your TRX tokens.
Importing an Existing Wallet
If you already have a TRON wallet and would like to use it with TronLink, you can easily import it into the extension. Here’s how:
- Open TronLink and click on the extension icon in your browser.
- Click on the “Settings” tab.
- Scroll down to the “Wallet” section and click on “Import Wallet”.
- A new window will pop up, asking you to enter your wallet’s private key or mnemonic phrase.
- Once you’ve entered your private key or mnemonic phrase, click on “Import”.
- TronLink will then import your wallet and you will be able to see your account balance and transaction history.
It’s important to note that importing an existing wallet will give TronLink access to your funds, so be sure to keep your private key or mnemonic phrase safe and secure. Additionally, make sure to verify that you are on the official TronLink website before entering any sensitive information.
If you encounter any issues while importing your wallet, make sure your private key or mnemonic phrase is correct and try again. If the problem persists, you can reach out to TronLink support for further assistance.
Importing an existing wallet into TronLink is a convenient way to manage your TRON funds securely. Once imported, you can easily send and receive TRON tokens, interact with decentralized applications, and explore the TRON ecosystem.
Sending TRON to Other Wallets
Once you have TRON in your TronLink wallet, you may want to send it to another wallet address. Here’s how you can safely do that:
1. Open your TronLink wallet extension and make sure you are on the “Asset” tab.
2. Find the TRON token in your asset list and click on it to open the “Send” page.
3. In the “Recipient” field, enter the wallet address you want to send TRON to. Make sure to double-check the address to avoid any errors.
4. Enter the amount of TRON you want to send in the “Amount” field. You can either enter the exact amount or use the percentage slider to select a percentage of your TRON balance.
5. Review the transaction details, including the network fee. TronLink will automatically calculate the fee based on the current network conditions. If you are satisfied with the details, click on the “Send” button.
6. TronLink will ask you to confirm the transaction. Review the details once again to make sure everything is correct, and then click on the “Confirm” button.
7. Wait for the transaction to be processed. Depending on network congestion, it may take some time for the transaction to be confirmed. You can check the progress of the transaction on the TRON blockchain explorer.
8. Once the transaction is confirmed, the TRON will be sent from your TronLink wallet to the recipient’s wallet address.
It is important to double-check the wallet address before sending any TRON to avoid any loss of funds. Also, make sure to keep your wallet and private keys secure to protect your TRON holdings.
Receiving TRON from Other Wallets
If you have TRON stored in another wallet and you would like to transfer it to your TronLink wallet, follow these steps:
- Open your TronLink wallet and click on the “Receive” button.
- Copy your TronLink wallet address.
- Open the wallet where your TRON is stored and navigate to the “Send” or “Transfer” section.
- Paste your TronLink wallet address as the recipient of the TRON transfer.
- Enter the amount of TRON you want to transfer and review the transaction details.
- Confirm the transaction and wait for the transfer to be completed.
It is important to double-check the wallet address before initiating the transfer to ensure that you are sending TRON to the correct TronLink wallet. Once the transfer is confirmed, the TRON will show up in your TronLink wallet balance.
Make sure that the wallet you are sending TRON from supports TRON transactions. Some wallets may not be compatible with TRON and you may need to first convert your TRON to another cryptocurrency before sending it to your TronLink wallet.
By following these steps, you can safely receive TRON from other wallets and have full control over your TRON assets in your TronLink wallet.
Securing Your TRON Wallet
Managing your TRON wallet with TronLink is convenient, but it’s crucial to take the necessary steps to secure your funds. Here are some essential tips to keep your TRON wallet safe:
- Choose a strong password: When creating your TRON wallet, make sure to choose a strong and unique password. Avoid using easily guessable passwords or ones that you have used for other accounts.
- Enable two-factor authentication (2FA): Activating 2FA adds an extra layer of security to your TRON wallet. This can include options like email verification or using a third-party app like Google Authenticator.
- Keep your wallet software up to date: Regularly update your TronLink wallet software to ensure you have the latest security patches and bug fixes.
- Use hardware wallets: Consider using a hardware wallet, such as a Ledger or Trezor, to store your TRON tokens offline. Hardware wallets offer an extra level of security by keeping your private keys offline and away from potential online threats.
- Be cautious of phishing attempts: Be wary of suspicious emails, messages, or websites that request your TRON wallet information. Always double-check the authenticity of the source before entering any sensitive information.
- Backup your wallet: Regularly backup your TRON wallet and store the backup in a secure location. This ensures that even if your device is lost or damaged, you can still access your funds.
- Secure your device: Keep your device and operating system updated with the latest security patches. Use strong antivirus software to protect against malware and regularly scan for any potential threats.
By following these security measures, you can significantly reduce the risk of unauthorized access to your TRON wallet and keep your funds safe.
Enabling Two-Factor Authentication
To add an extra layer of security to your TRON wallet, you can enable two-factor authentication (2FA) with TronLink. 2FA requires you to provide two pieces of information to verify your identity: your password and a unique authentication code generated by an authentication app on your mobile device.
Here’s how you can enable two-factor authentication in TronLink:
- Open the TronLink app on your mobile device.
- Go to the settings menu.
- Select “Security” or “Two-Factor Authentication”.
- Choose the authentication app you want to use. TronLink supports popular apps like Google Authenticator and Authy.
- Follow the app’s instructions to scan the QR code displayed on your TronLink screen.
- Once the QR code is scanned, the authentication app will generate a unique code.
- Enter the code into TronLink.
- Click “Enable” to activate two-factor authentication.
From now on, when you log in to your TronLink wallet, you will need to provide your password and the authentication code from your chosen app in order to gain access. This added security measure helps protect your TRX tokens from unauthorized access.
Remember to keep your authentication app and backup codes in a safe place. If you lose your device or uninstall the authentication app, you may lose access to your TRON wallet.
Creating a Strong Password
Creating a strong password is crucial to protect your TRON wallet from unauthorized access. Here are some tips to help you create a strong and secure password:
- Use a combination of uppercase and lowercase letters
- Include numbers and special characters
- Make it at least 8 characters long
- Avoid using common words, predictable patterns, or personal information
Remember, the stronger and more unique your password is, the more secure your TRON wallet will be. It is recommended to regularly change your password and avoid using the same password for multiple accounts.
Backing Up Your Wallet
One of the most important steps you can take to secure your TRON wallet is to regularly backup your wallet’s private key or seed phrase. This backup will allow you to restore your wallet and funds in case your device is lost, stolen, or damaged. Follow the steps below to backup your TRON wallet:
- Open TronLink on your device.
- Click on the Accounts tab located at the bottom of the screen.
- Select the wallet that you want to backup from the list of available wallets.
- Click on the Backup Wallet button located at the bottom of the screen.
- Write down your private key or seed phrase on a piece of paper or an offline note-taking application. Make sure to keep it in a safe and secure place.
- Double-check the accuracy of the written down private key or seed phrase.
- Store the backup in a location separate from your device, such as a safe deposit box or a fireproof safe.
- Keep the backup confidential and avoid sharing it with anyone.
Remember, losing access to your wallet’s private key or seed phrase means losing access to your funds. By regularly backing up your TRON wallet, you can ensure that your funds are always secure and accessible.
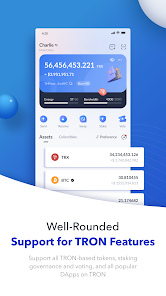
Using TronLink’s Additional Features
TronLink is more than just a wallet for managing your TRON assets. It also provides a range of additional features to enhance your TronLink experience and give you more control over your digital assets.
DApp Browser: TronLink comes with a built-in DApp (Decentralized Application) browser that allows you to seamlessly interact with various decentralized applications on the TRON network. You can browse and explore different DApps, play games, access decentralized finance platforms, and more, directly from within TronLink.
Token Swap: TronLink enables you to easily swap between different TRC-20 tokens within the wallet. This feature eliminates the need to use external exchanges or platforms and provides a convenient way to manage your token portfolio. Simply select the tokens you want to swap, enter the desired amount, and initiate the swap with just a few clicks.
Voting: TronLink allows TRON token holders to participate in the network’s governance by voting for Super Representatives. Super Representatives play a crucial role in maintaining the TRON network’s security and efficiency. With TronLink, you can vote for your preferred Super Representatives directly from your wallet, ensuring that your voice is heard in the network’s decision-making process.
Transaction History: TronLink keeps a detailed record of all your wallet transactions, allowing you to easily track and monitor your TRON activity. You can view the transaction history, including the date, time, and amount of each transaction, as well as the wallet addresses involved. This feature helps you stay informed about your financial activities and provides transparency and accountability.
Secure and Private: TronLink prioritizes the security and privacy of your digital assets. It uses advanced encryption algorithms to protect your wallet and ensures that your private keys never leave your device. Additionally, TronLink does not collect any personal information or store any sensitive data, further enhancing your security and privacy.
Overall, TronLink’s additional features empower you to make the most out of your TRON wallet. Whether you want to explore DApps, swap tokens, vote in the network’s governance, or track your transaction history, TronLink has you covered.
Participating in TRON Dapps
TRON Dapps, or decentralized applications, are a popular way to interact with the TRON network and make use of its various features and services. To participate in TRON Dapps, follow these steps:
1. Open your TronLink wallet and ensure that you have TRX tokens available to use.
2. Browse through the TRON Dapps available on platforms like DappReview, Dapp.com, or Tronscan. These platforms provide a list of popular and reputable Dapps for you to explore.
3. Once you find a Dapp that interests you, click on its link to visit its website.
4. Before you can start using the Dapp, you need to connect your TronLink wallet to it. Look for the “connect wallet” button or a similar option on the Dapp’s website.
5. Click on the “connect wallet” button, and choose TronLink from the list of available wallet options.
6. A pop-up window will appear, asking for your permission to connect your wallet to the Dapp. Click “confirm” to authorize the connection.
7. Once the connection is established, you will be able to access the features and services provided by the Dapp. This may include activities such as gaming, trading, lending, or staking.
8. Follow the instructions provided by the Dapp to perform your desired actions. Make sure to read and understand any terms, conditions, or risks associated with using the Dapp before proceeding.
9. Keep track of your transactions and balances within the Dapp and manage your funds accordingly. Remember to exercise caution and only use reputable Dapps to minimize the risk of scams or fraudulent activities.
By following these steps, you can safely participate in TRON Dapps and explore the various opportunities and services available on the TRON network.
Voting for Super Representatives
One of the key features of TronLink is the ability to vote for Super Representatives (SRs). Super Representatives play a crucial role in the TRON network by confirming transactions, maintaining the blockchain, and participating in governance decisions.
To vote for Super Representatives, follow these steps:
Step 1: Launch TronLink
Open the TronLink extension and make sure you are logged in to your TRON wallet.
Step 2: Navigate to the Voting Section
Click on the “Voting” tab located at the bottom of the TronLink interface.
Step 3: Choose Super Representatives
Scroll through the list of Super Representatives and select the ones you want to vote for. You can search for specific SRs or browse through different categories such as exchanges, communities, and blockchain projects.
Step 4: Allocate Your Votes
Decide how many votes you want to allocate to each Super Representative. You can distribute your votes evenly or give more weight to certain SRs that you believe will positively contribute to the TRON network.
Step 5: Confirm Your Votes
Once you have selected the Super Representatives and allocated your votes, click on the “Vote” button to confirm your choices.
Step 6: Pay Voting Fee (Optional)
Sometimes, there might be a voting fee associated with casting your votes. If there is a fee, TronLink will prompt you to pay it. You can choose to pay the fee or cancel the voting process.
Remember, voting for Super Representatives is an important way to actively participate in the governance and development of the TRON network. By voting for SRs that align with your values and goals, you can contribute to the growth and success of the TRON ecosystem.
FAQ:
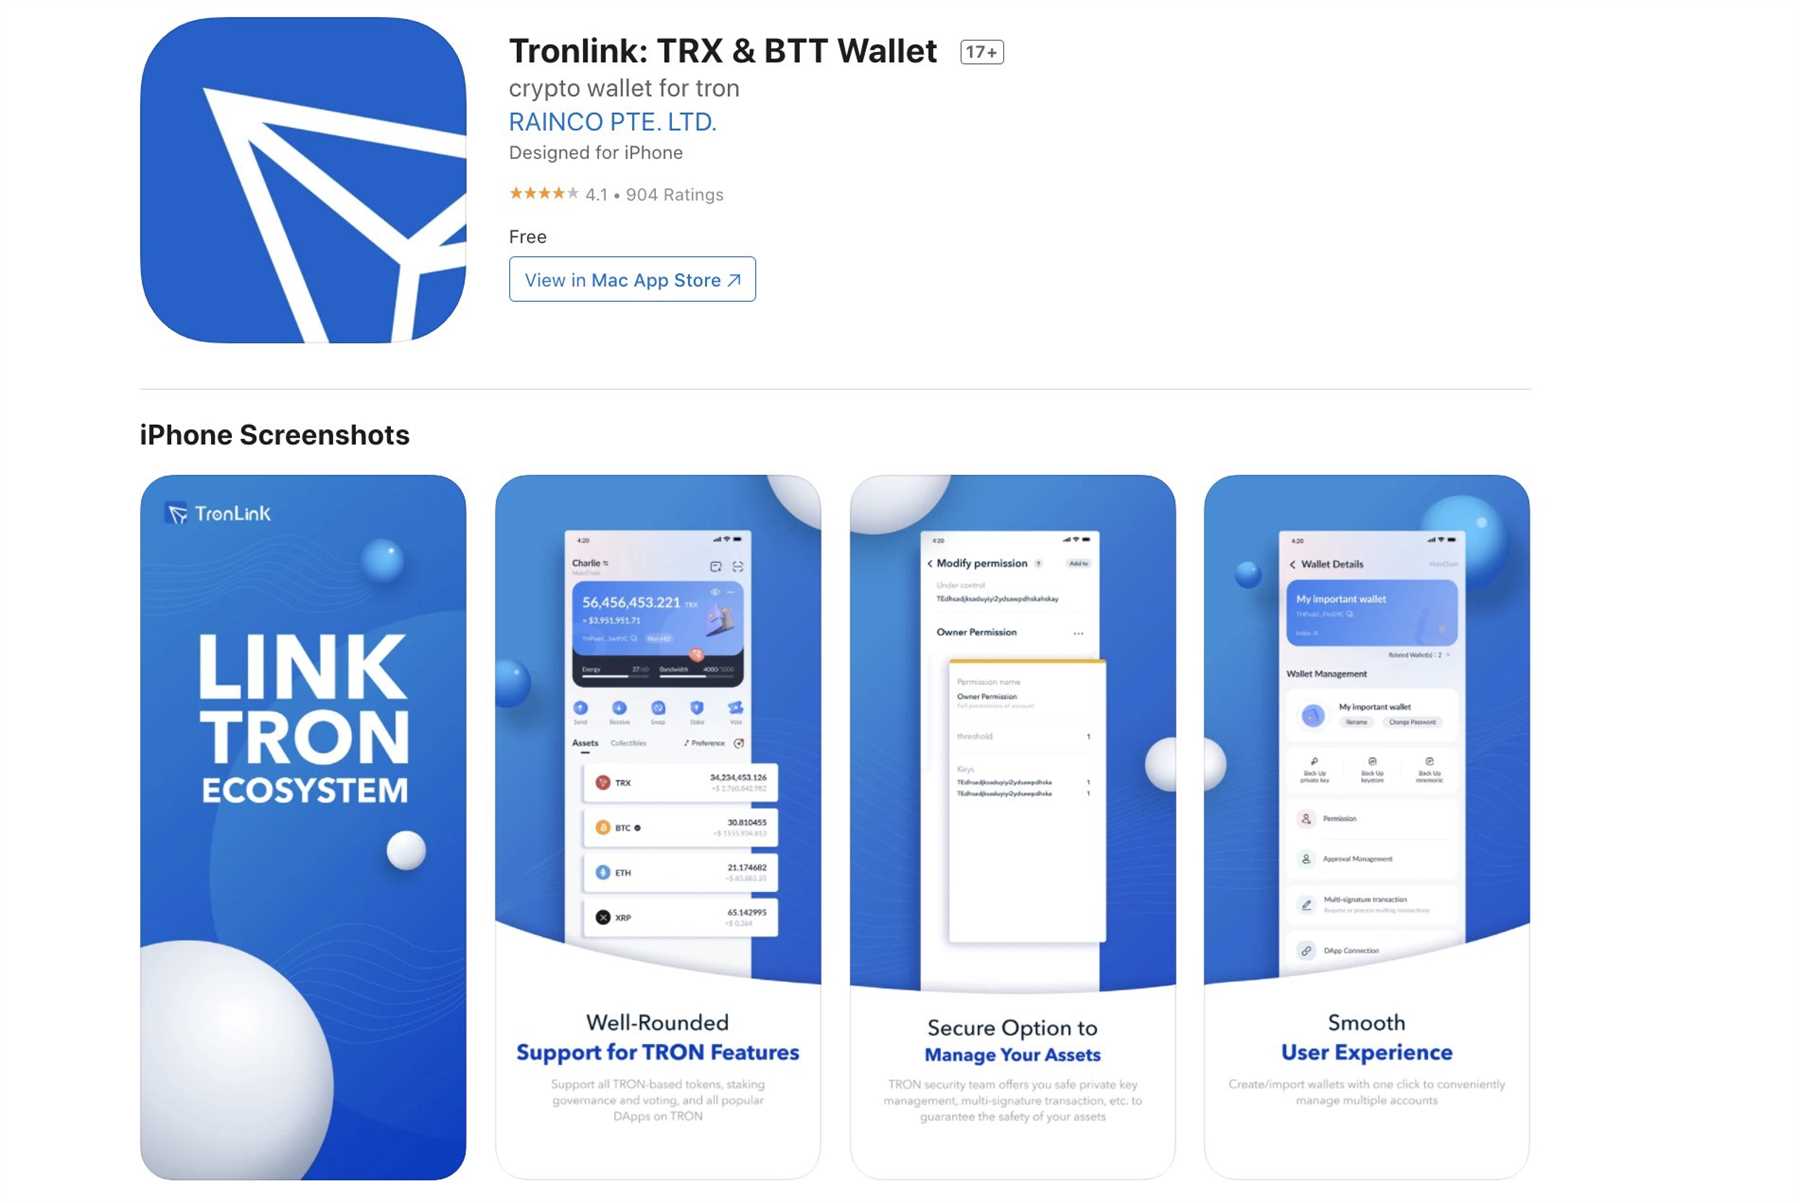
What is TronLink?
TronLink is a cryptocurrency wallet that allows users to securely manage their TRON tokens. It is a browser extension that can be installed on popular browsers like Chrome and Firefox.
How can I install TronLink?
To install TronLink, go to the Chrome Web Store or the Firefox add-ons page and search for TronLink. Click on the “Add to Chrome” or “Add to Firefox” button to install the extension.