
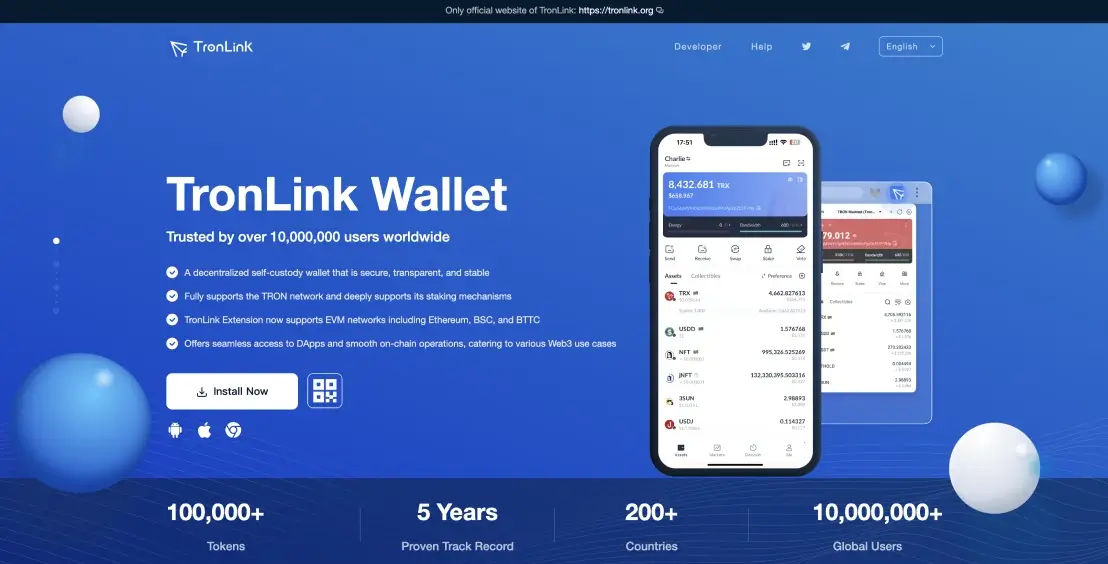
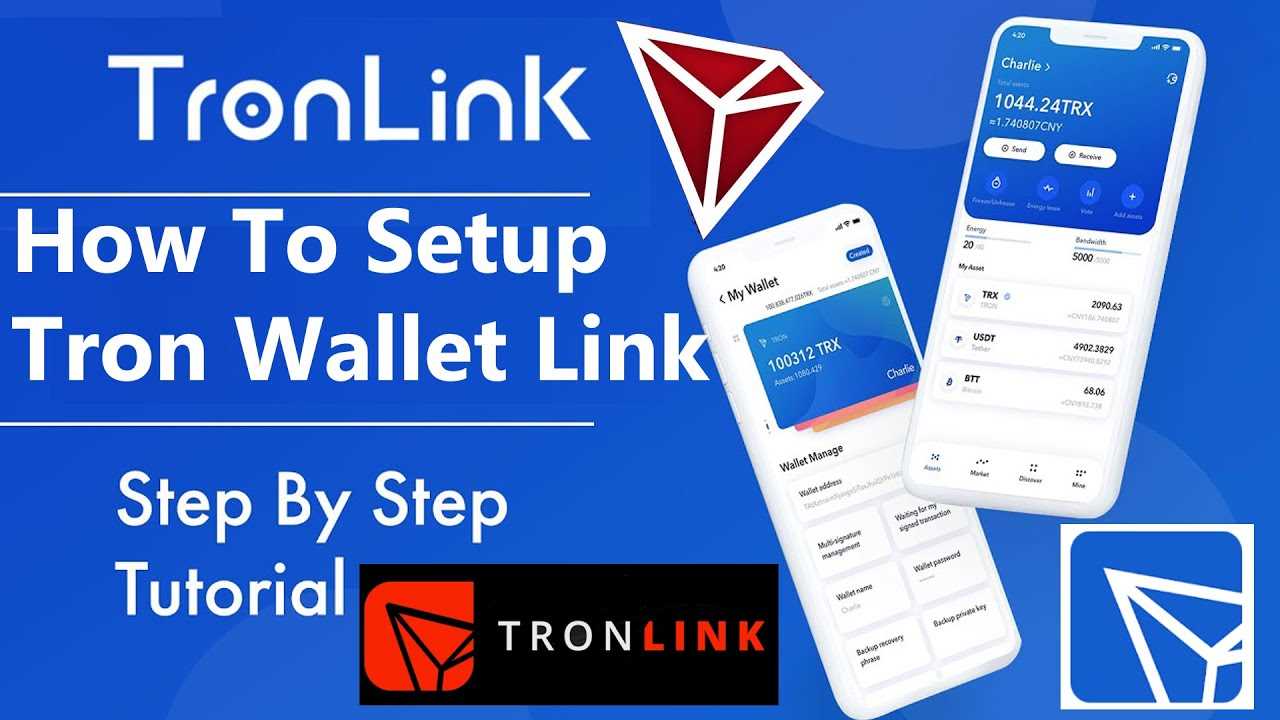
Tronlink Wallet is a popular cryptocurrency wallet that allows users to securely manage their Tron assets. With the rise of cryptocurrencies, it has become essential to have a reliable and secure digital wallet to store and manage your assets.
Tronlink Wallet offers a range of features that make it an ideal choice for Tron users. One of the key features is its security. The wallet utilizes industry-standard encryption techniques to safeguard your assets and ensure that only you have access to your funds.
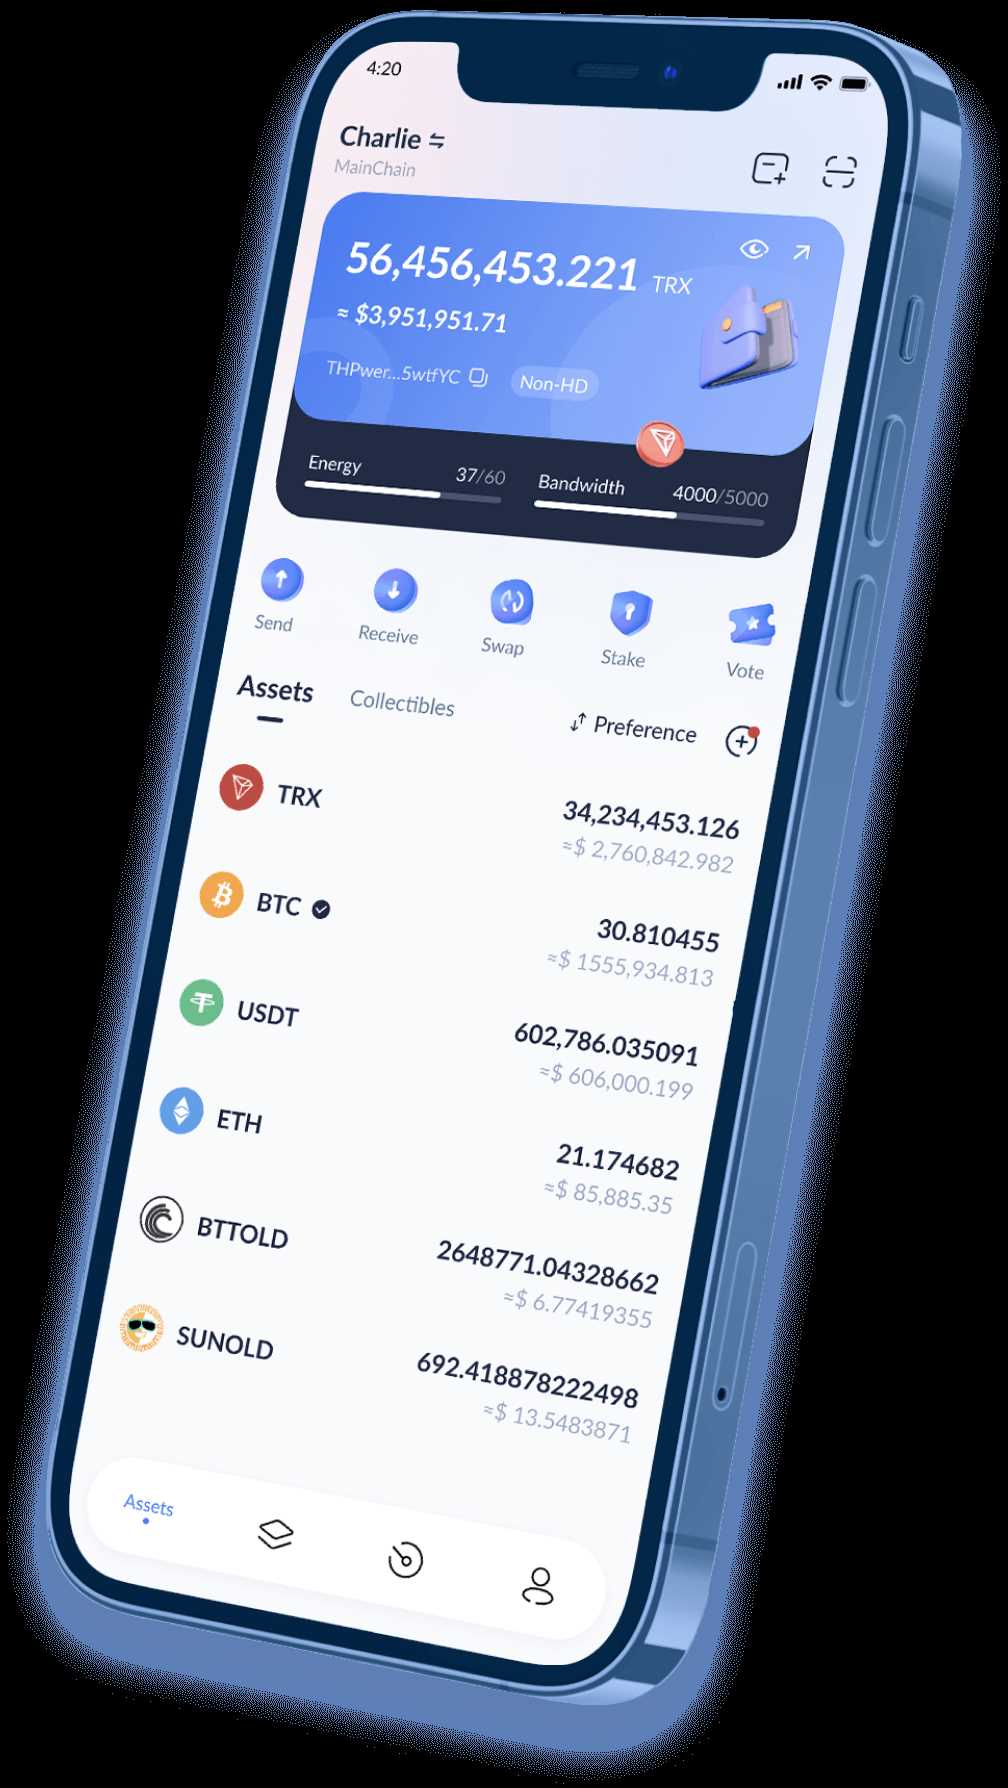
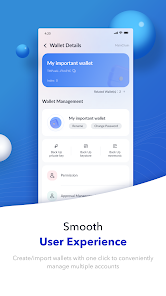
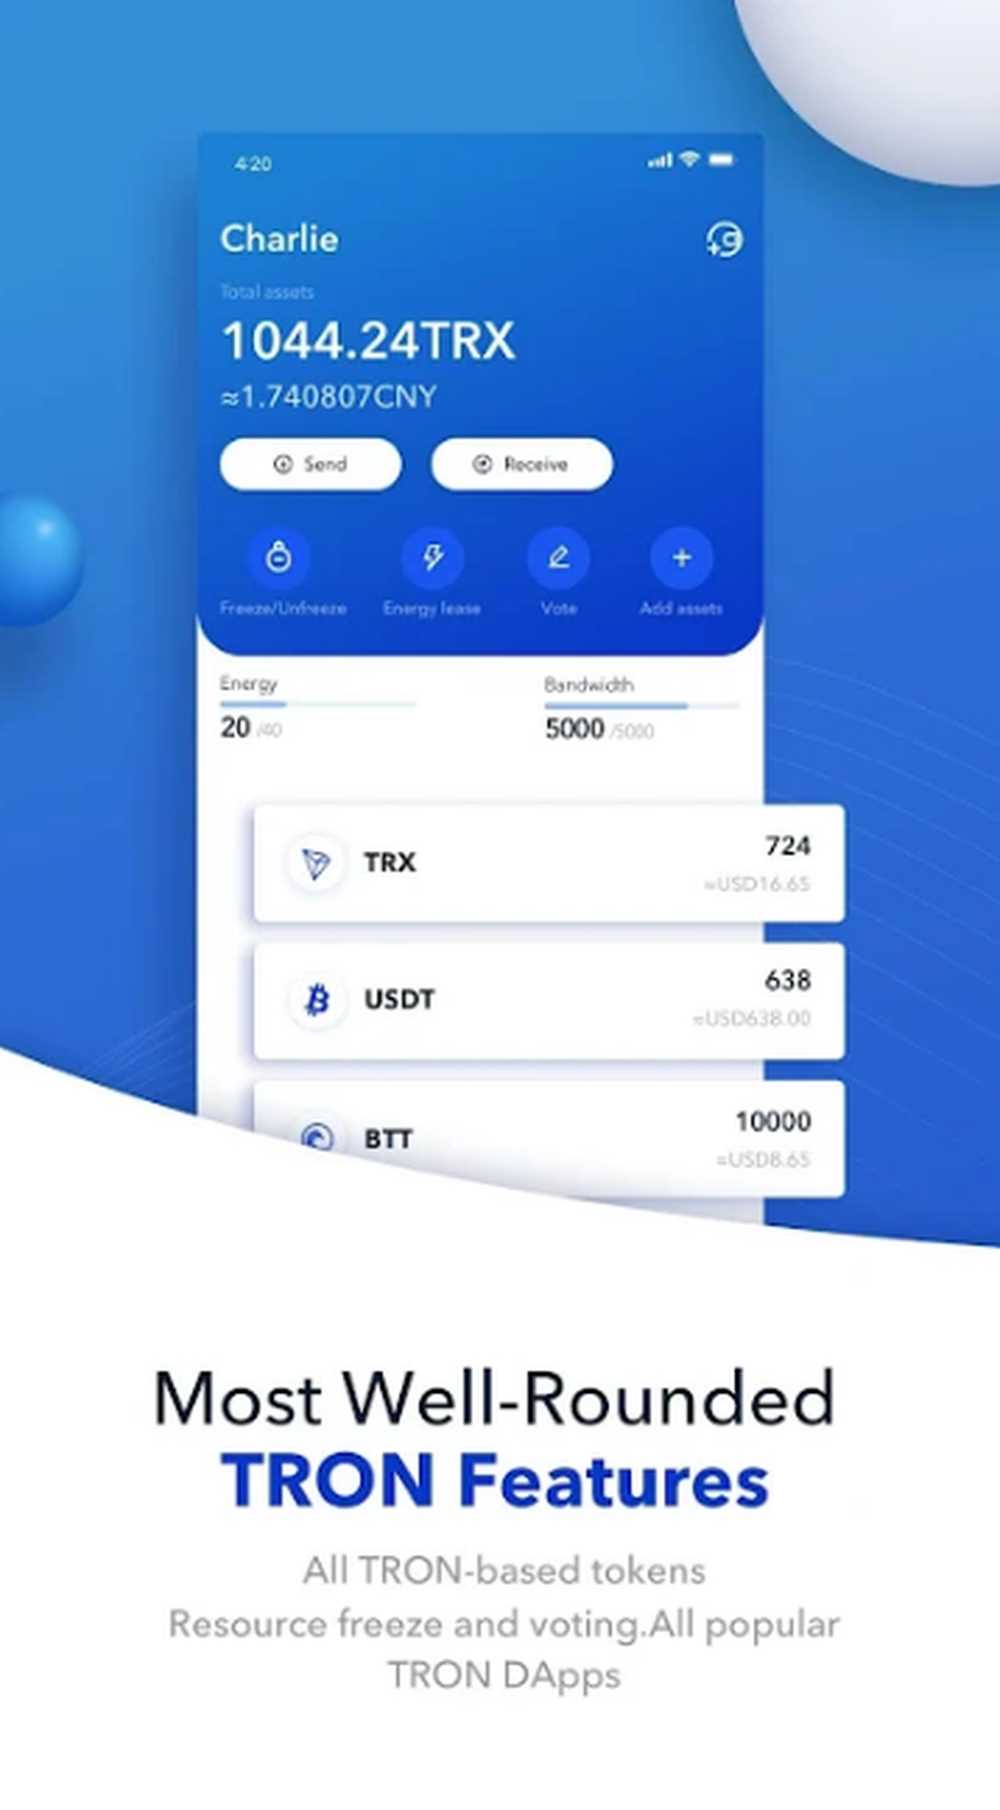
Managing your Tron assets with Tronlink Wallet is easy and intuitive. The wallet provides a user-friendly interface that allows you to easily send, receive, and store TRX and other TRC-10 and TRC-20 tokens. It also supports decentralized applications (DApps), enabling you to interact with the Tron ecosystem directly from the wallet.
Furthermore, Tronlink Wallet offers seamless integration with popular decentralized exchanges, allowing you to trade your Tron assets directly from the wallet. This eliminates the need to transfer your assets to a centralized exchange, reducing the risk of hacking or theft.
In conclusion, if you are looking for a secure and user-friendly wallet to manage your Tron assets, Tronlink Wallet is an excellent choice. With its strong security measures and seamless integration with decentralized exchanges, it provides a convenient and safe way to store and manage your Tron assets.
Why Tronlink Wallet is a Secure Option
Tronlink Wallet is widely regarded as one of the most secure wallets for managing your Tron assets. There are several reasons why this wallet stands out in terms of security:
End-to-End Encryption: Tronlink Wallet uses end-to-end encryption to secure your private keys and protect your funds. This means that your private keys are encrypted on your device, and only you have the ability to access and control your assets.
Multi-Factor Authentication: Tronlink Wallet offers multi-factor authentication, adding an extra layer of security to your account. You can enable features like biometric authentication, such as fingerprint or facial recognition, to ensure that only you can access your wallet.
Secure Transactions: Tronlink Wallet utilizes secure transaction protocols to ensure that your transfers and interactions with the Tron blockchain are safe and protected. This helps to prevent any unauthorized access or tampering with your transactions.
Open-Source and Audited: Tronlink Wallet is an open-source project, which means that the code is publicly available for review and auditing by the community. This transparency helps to ensure that there are no hidden vulnerabilities or backdoors that could compromise the security of your assets.
Active Development and Community Support: Tronlink Wallet is actively developed and maintained by a dedicated team of developers. They work closely with the Tron community to address any security concerns and provide regular updates to enhance the wallet’s security features.
Trusted and Validated: Tronlink Wallet is a well-established and trusted wallet in the Tron ecosystem. It has been validated by the Tron Foundation and is recommended by many Tron enthusiasts and experts for its security and reliability.
In conclusion, Tronlink Wallet offers a highly secure option for managing your Tron assets. Its end-to-end encryption, multi-factor authentication, secure transactions, open-source nature, active development, and validation from the Tron Foundation make it a reliable choice for safeguarding your Tron assets.
End-to-end Encryption
In order to ensure maximum security for your Tron assets, Tronlink Wallet utilizes end-to-end encryption. This means that your private keys are encrypted on your device and remain encrypted throughout the entire process, from sending or receiving transactions to storing your assets.
End-to-end encryption works by encrypting your private keys with a unique password that only you know. This password is not stored anywhere on Tronlink’s servers or within the app itself, ensuring that only you have access to your assets.
When you send or receive a transaction, Tronlink Wallet uses this encrypted private key to sign the transaction and ensure its authenticity. This ensures that even if someone were able to intercept your transaction, they would not be able to access your private keys without the decryption password.
It’s important to note that because Tronlink Wallet utilizes end-to-end encryption, it is crucial to always keep your password secure and never share it with anyone. Additionally, make sure to choose a strong, unique password that would be difficult for others to guess.
By implementing end-to-end encryption, Tronlink Wallet prioritizes the security and privacy of your Tron assets, providing you with peace of mind that your funds are protected. It is always recommended to use secure wallets like Tronlink when managing your cryptocurrency assets.
Two-factor Authentication
Two-factor authentication (2FA) is an additional layer of security that helps protect your Tron assets in the Tronlink Wallet. It adds an extra step to the login process, requiring you to provide two pieces of information to verify your identity.
When enabling 2FA, you will need to download an authenticator app, such as Google Authenticator or Authy, on your mobile device. This app will generate a unique code that you will need to enter along with your password every time you log in to your Tronlink Wallet.
Using 2FA significantly reduces the risk of unauthorized access to your Tron assets. Even if someone manages to obtain your password, they would also need access to your mobile device to generate the unique code, making it much more difficult for them to compromise your account.
It is important to remember to store your recovery codes in a safe and secure location. These codes can be used to regain access to your Tronlink Wallet in case you lose your mobile device or are unable to use the authenticator app.
Note: Enabling 2FA is highly recommended to ensure the security of your Tron assets. It is an effective way to protect your funds and provides an additional layer of defense against unauthorized access.
Remember, taking proactive steps to secure your Tron assets is essential to safeguard your investment.
Setting Up Your Tronlink Wallet

To securely manage your Tron assets, you will need to set up a Tronlink wallet. Here is a step-by-step guide on how to do it:
- Download the Tronlink Wallet app from the official website or your device’s app store.
- Once the app is downloaded, open it and create a new wallet.
- Choose a strong password for your wallet. Make sure to use a combination of uppercase and lowercase letters, numbers, and special characters.
- Write down the private key and keep it in a safe place. This key is crucial for accessing your funds, so make sure not to lose it.
- Confirm your password and private key.
- Set up a pin code for quick access to your wallet. Make sure to choose a pin that is easy for you to remember but hard for others to guess.
- After setting up your pin code, your Tronlink wallet is ready to be used.
It is essential to keep your wallet password, private key, and pin code secure and confidential. Do not share this information with anyone and avoid storing it on devices or platforms that are susceptible to hacking.
By following these steps, you can ensure the security of your Tron assets and have peace of mind while managing your funds.
Downloading and Installing the Tronlink Wallet
Step 1: To begin managing your Tron assets securely, you first need to download and install the Tronlink Wallet. The Tronlink Wallet is available as a browser extension for Chrome, Firefox, and Brave browsers.
Step 2: Open your preferred browser and navigate to the extension store. For Chrome users, go to the Chrome Web Store; for Firefox users, go to the Firefox Add-ons Store; and for Brave users, go to the Brave extension store.
Step 3: Use the search bar in the extension store to search for “Tronlink Wallet”. Once you find the Tronlink Wallet extension, click on it to open the extension page.
Step 4: On the Tronlink Wallet extension page, click on the “Add to Chrome” button (or the corresponding button for your browser). A pop-up window will appear, asking for confirmation to add the extension. Click “Add extension” to proceed with the installation.
Step 5: After the extension is installed, an icon for the Tronlink Wallet will appear in your browser’s extension toolbar.
Step 6: Click on the Tronlink Wallet icon in the extension toolbar to open the wallet interface. You will be prompted to create a new wallet or restore an existing one. Follow the on-screen instructions to set up your wallet.
Step 7: Once your wallet is set up, you can start managing your Tron assets securely using the Tronlink Wallet. The wallet interface will provide you with options to send and receive TRX, interact with decentralized applications (DApps) on the Tron network, and more.
Note: It is important to ensure that you download the Tronlink Wallet from official sources and verify its authenticity before installing it. Be cautious of phishing attempts and only download the wallet from trusted websites or extension stores.
Creating a New Wallet
To secure your Tron assets, you will need to create a new wallet using the Tronlink extension. Follow the steps below to create your new wallet:
- First, visit the Tronlink website (https://www.tronlink.org) on your computer’s web browser.
- Click on the “Download” button to download the Tronlink extension.
- After the extension has finished downloading, click on the Tronlink icon in your browser’s toolbar to open the extension.
- Click on the “Create Wallet” button on the Tronlink extension.
- Choose a strong password for your wallet and enter it in the provided field. Make sure to remember this password as it will be required to access your wallet in the future.
- Confirm your password by entering it again in the next field.
- Read and accept the terms and conditions of the Tronlink wallet.
- Click on the “Create Wallet” button to proceed.
- You will then be provided with a 12-word recovery phrase. This phrase is extremely important and should be kept in a safe and secure place. It can be used to restore your wallet if you ever forget your password or need to access your wallet from another device.
- Write down the recovery phrase and keep it in a safe place. Do not share it with anyone as it could lead to unauthorized access to your wallet.
- Click on the “Finish” button to complete the wallet creation process.
Once you have created your new Tronlink wallet, you will be able to securely manage your Tron assets and make transactions on the Tron network.
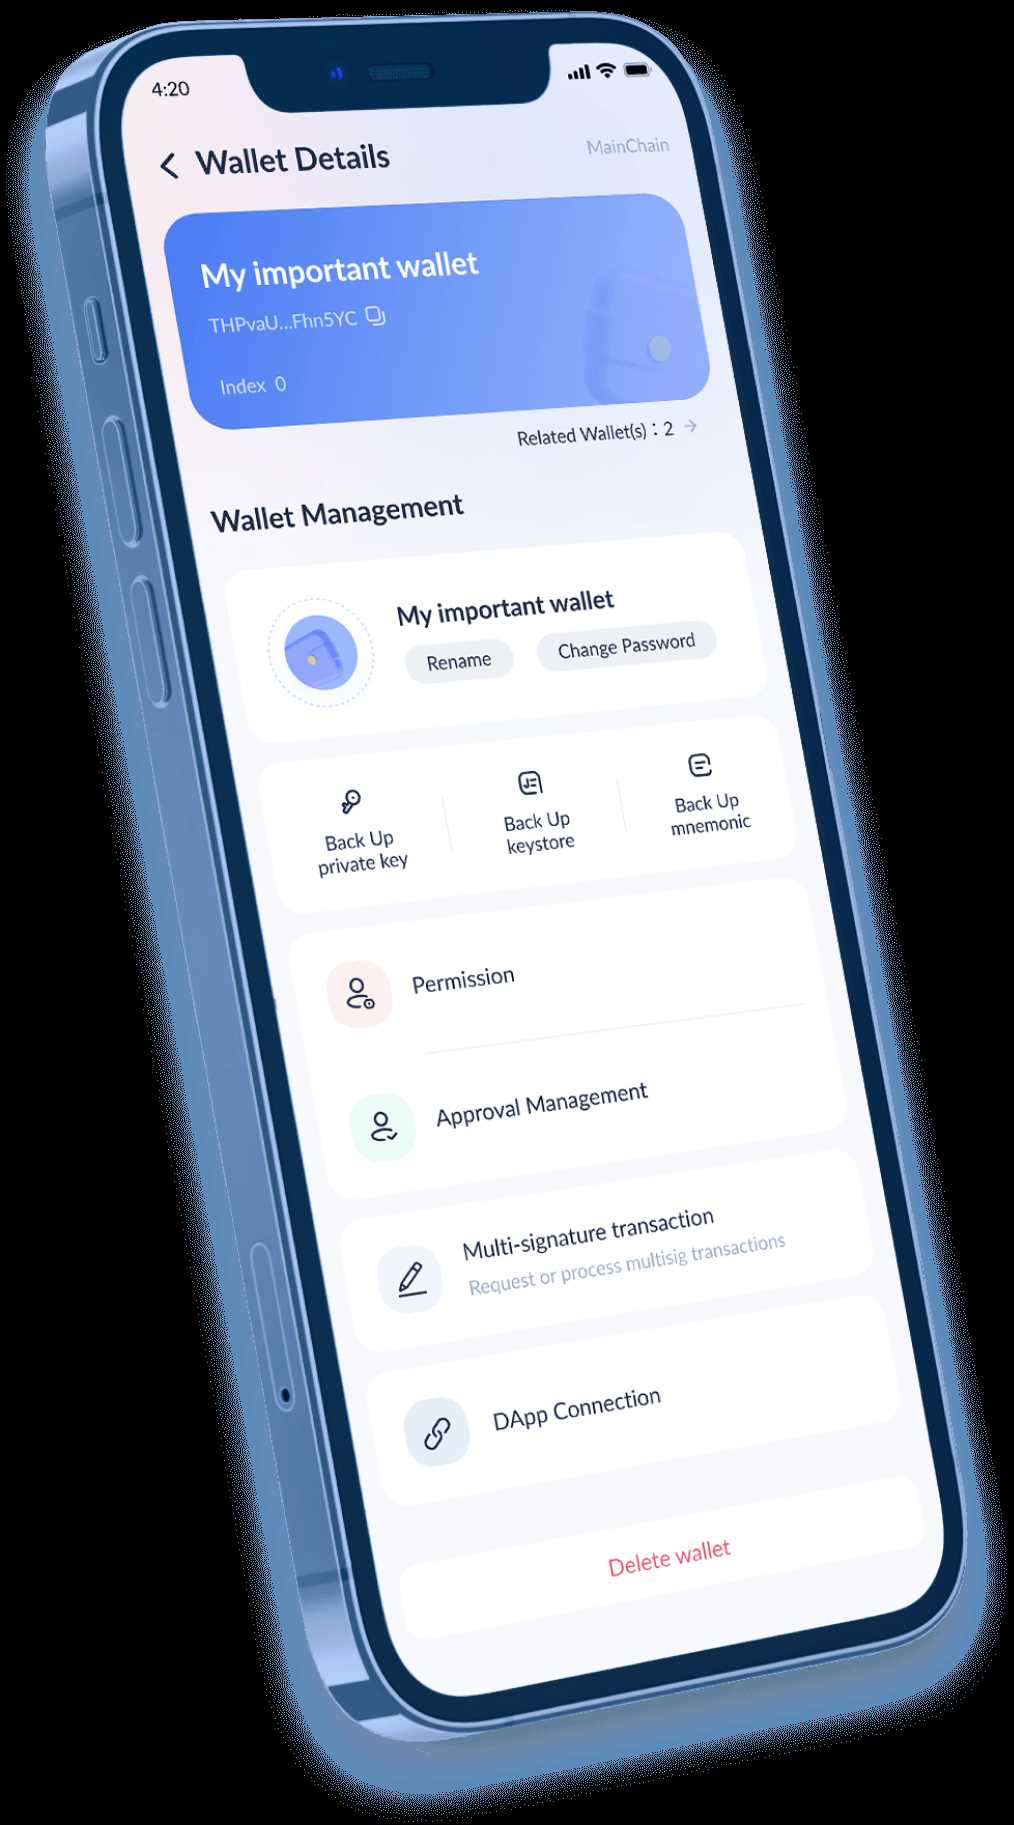
Securing Your Wallet Seed Phrase
Your wallet seed phrase is a crucial component in managing and securing your Tron assets. It is a series of words that act as a backup for your wallet, allowing you to recover your funds in case your wallet is lost or compromised.
When you create a Tronlink wallet, you will be provided with a seed phrase. It is extremely important to keep this seed phrase secure and confidential, as anyone who gains access to it can potentially gain control over your wallet.
Here are some important tips to help you secure your wallet seed phrase:
- Write it down: Take the time to write down your seed phrase on a piece of paper or a physical backup. Do not store it digitally or in plain sight.
- Store it safely: Keep your seed phrase in a safe and secure location, such as a lockbox or a fireproof safe. Avoid storing it in places where it can be easily accessed or damaged.
- Keep it secret: Never share your seed phrase with anyone, including friends, family, or strangers. Be cautious of phishing attempts or scams that may try to trick you into revealing it.
- Create multiple copies: Consider creating multiple copies of your seed phrase and storing them in different secure locations. This can provide an extra layer of protection in case one copy is lost or damaged.
- Use a passphrase: Some wallets offer the option to add an additional passphrase to your seed phrase, known as a “25th word”. This can provide an extra layer of security by requiring both the seed phrase and the passphrase to access your wallet.
By following these security measures, you can significantly reduce the risk of losing or compromising your Tron assets. Remember, the seed phrase is the key to your wallet, so it is essential to treat it with the utmost care and caution.
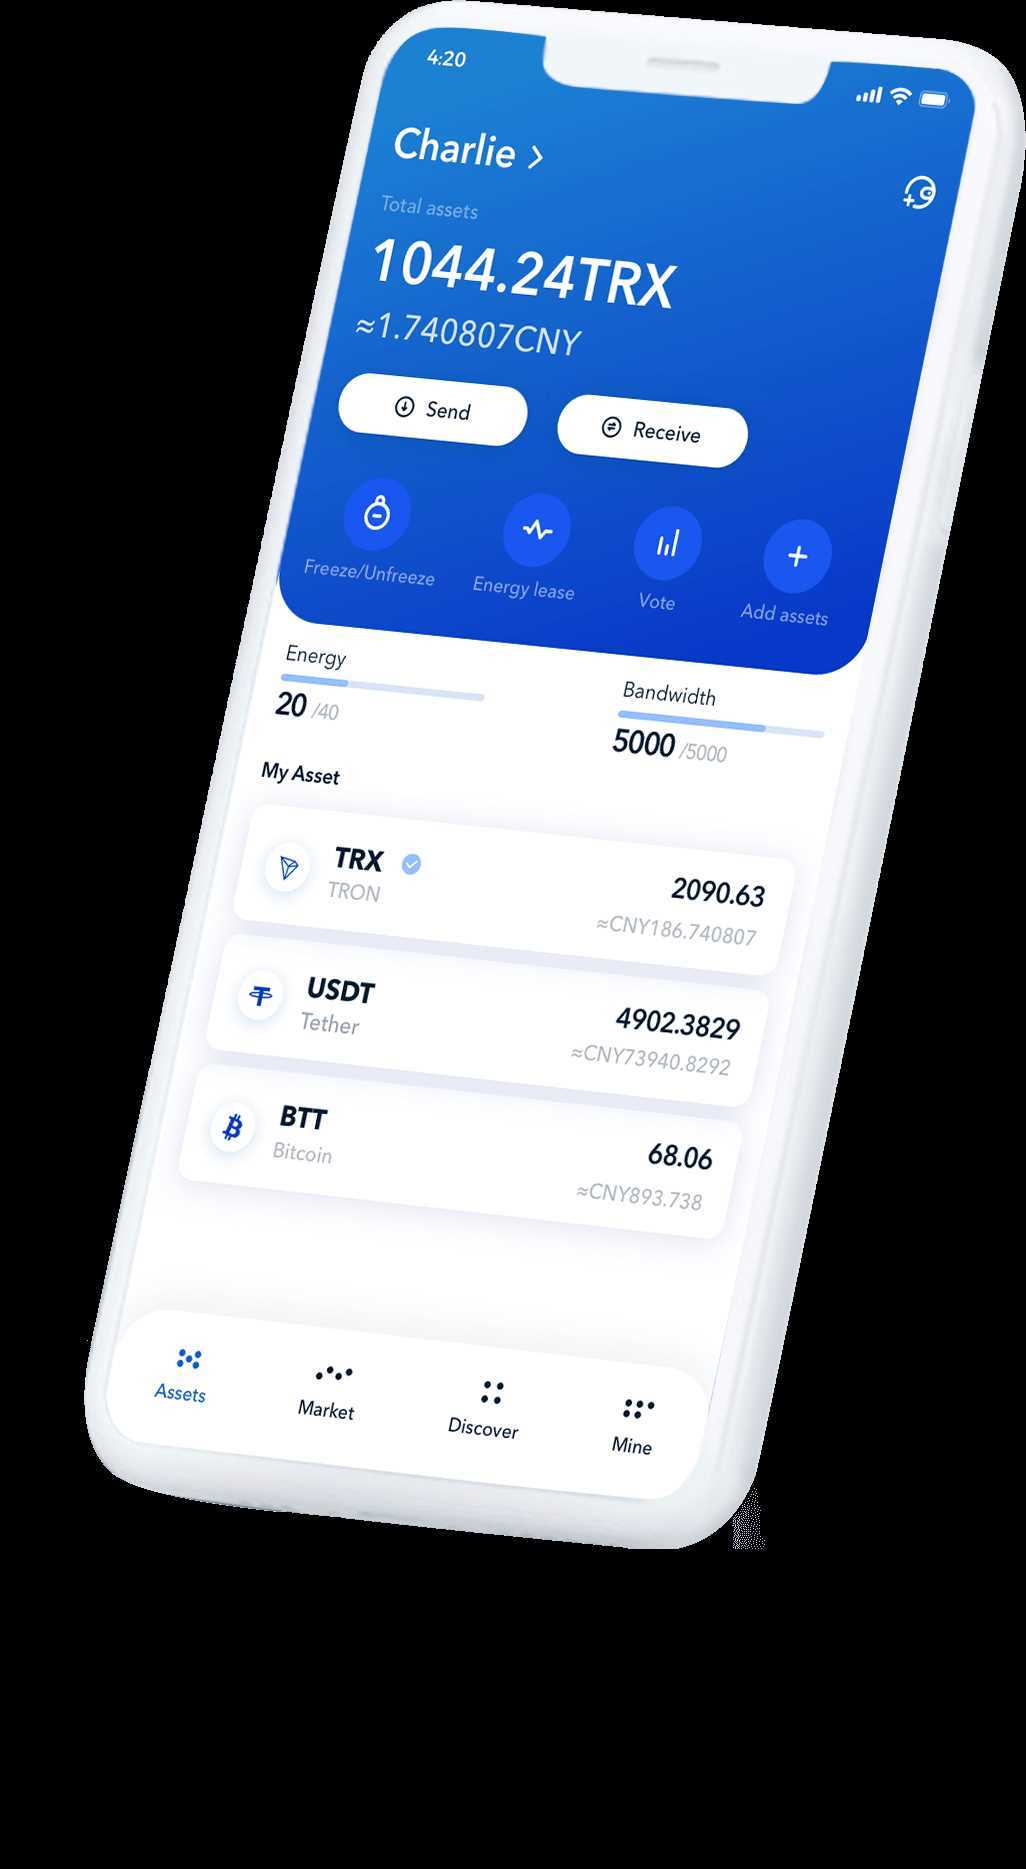
Managing Your Tron Assets
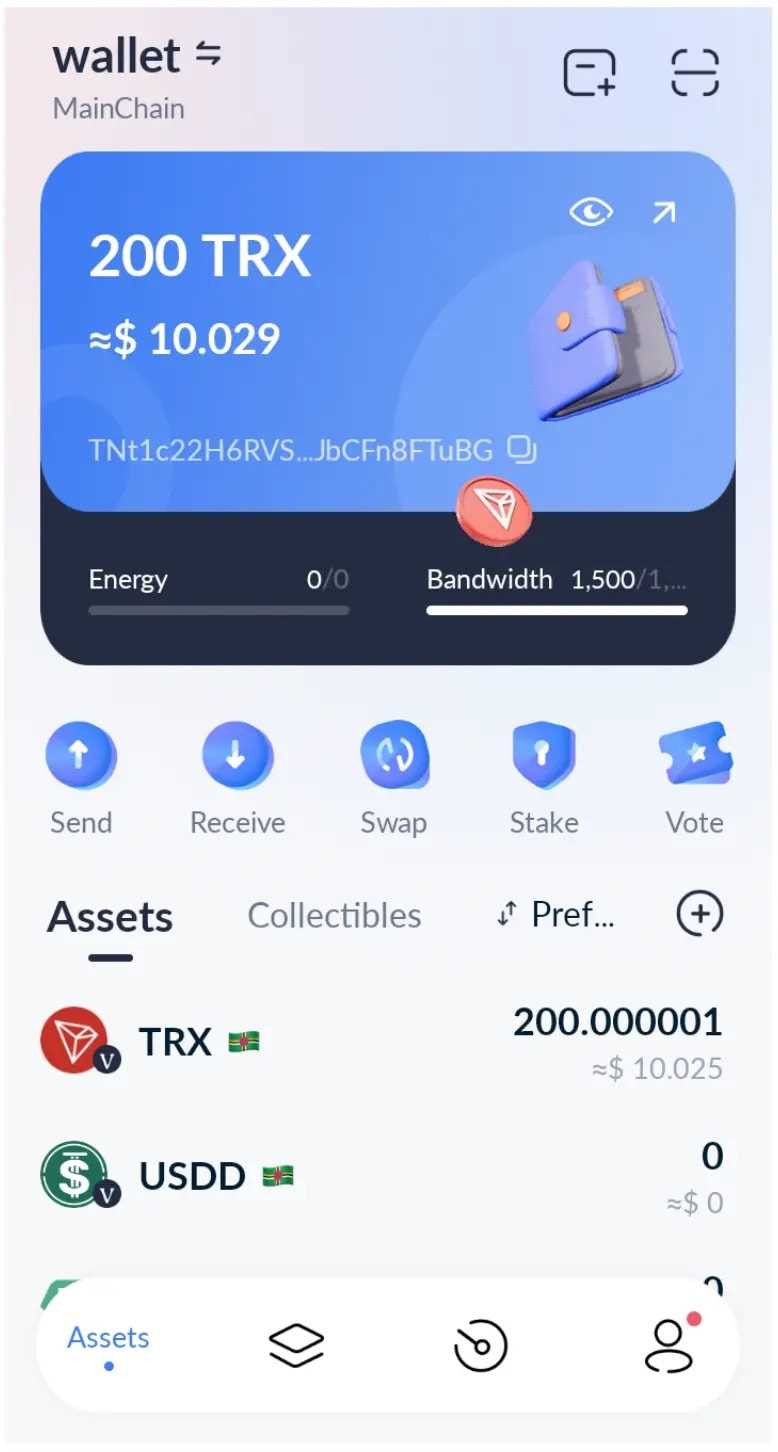
Managing your Tron assets with Tronlink Wallet is a simple and secure process. Follow these steps to effectively manage your Tron assets:
1. Install and set up Tronlink Wallet on your preferred device.
2. Create a new wallet or import an existing one using your private key or mnemonic phrase.
3. Once your wallet is set up, you can access and manage your Tron assets.
4. You can view your Tron balance, transaction history, and token holdings within the wallet interface.
5. To send Tron or any TRC20 tokens, simply navigate to the “Send” feature in the wallet.
6. Enter the recipient’s address, specify the amount you want to send, and confirm the transaction.
7. To receive Tron or TRC20 tokens, provide your wallet address to the sender.
8. You can also manage and interact with decentralized applications (DApps) directly within Tronlink Wallet.
9. Tronlink Wallet provides various security features, such as password protection, fingerprint support, and hardware wallet integration, to ensure the safety of your assets.
10. Regularly update your Tronlink Wallet to benefit from new features and security enhancements.
By following these steps and utilizing the features offered by Tronlink Wallet, you can securely and efficiently manage your Tron assets.
Adding TRC20 Tokens to Your Wallet
If you want to manage your TRC20 tokens alongside your TRX balance in your TronLink wallet, you can easily add them by following these simple steps:
- Open your TronLink wallet by clicking on the TronLink icon in your browser toolbar.
- Enter your password to unlock your wallet, if prompted.
- In the wallet interface, click on the “Tokens” section.
- Click on the “Add Token” button.
- A form will appear where you need to enter the token contract address, token name, and token symbol. You can find this information on the project’s website or in the token’s official announcement.
- Once you have filled in the required information, click on the “Add” button.
After completing these steps, the TRC20 tokens will be added to your wallet and you will be able to see your balance, transaction history, and perform other actions with your tokens.
Note that adding a TRC20 token to your wallet does not automatically mean that you own the tokens. You still need to have the tokens in your wallet address in order to manage and use them.
It is important to double-check the token contract address and other details before adding a token to your wallet to ensure that you are adding the correct token and not falling victim to scams or fake tokens.
By adding TRC20 tokens to your TronLink wallet, you can conveniently manage and keep track of all your Tron assets in one place, making it easier to monitor and transact with your tokens.
Sending and Receiving TRX and TRC20 Tokens
To securely manage your TRX and TRC20 tokens using Tronlink Wallet, you can easily send and receive transactions within the application. Here’s a step-by-step guide on how to do so:
- Open your Tronlink Wallet application and ensure that you have successfully connected your wallet to the Tron network.
- On the main page of the application, click on the “Send” or “Receive” tab, depending on your desired action.
- If you want to send TRX or TRC20 tokens to someone, click on the “Send” tab.
- Enter the recipient’s wallet address in the designated field. Make sure to double-check the address to ensure accuracy.
- Specify the amount of TRX or TRC20 tokens you want to send.
- Review the transaction details and verify that everything is correct.
- If you are satisfied with the transaction details, click on the “Confirm” button to proceed.
- Enter your wallet password or use biometric authentication to authorize the transaction.
- Wait for the transaction to be processed and confirmed on the Tron blockchain.
- If you want to receive TRX or TRC20 tokens, click on the “Receive” tab.
- You will be presented with a QR code and a wallet address.
- Share the QR code or wallet address with the sender to receive funds.
- Wait for the sender to complete the transaction and for it to be confirmed on the Tron blockchain.
By following these steps, you can safely and securely manage your TRX and TRC20 tokens using Tronlink Wallet. Remember to always double-check the transaction details and only send tokens to trusted addresses.
Monitoring your Tron Transactions
Once you have securely managed your Tron assets using Tronlink Wallet, it’s important to monitor your transactions to ensure that everything goes smoothly. Here are a few steps you can take to keep an eye on your Tron transactions:
- Check your transaction history: Tronlink Wallet provides a transaction history feature that allows you to see all the transactions you have made with your Tron assets. This feature is particularly helpful for keeping track of your outgoing and incoming transactions.
- Monitor your balances: It’s important to regularly check your Tron wallet balances to ensure that your assets are secure and that there are no unexpected changes. Tronlink Wallet displays your account balance and token balances, making it easy to keep track of your assets.
- Set up notifications: Tronlink Wallet allows you to set up notifications for certain types of transactions. You can customize the notifications to receive alerts when you make outgoing transactions, receive incoming transactions, or when there are any changes to your account balance. This can help you stay updated on the status of your Tron assets.
By closely monitoring your Tron transactions, you can ensure the security and integrity of your assets. Tronlink Wallet provides a range of tools and features to make this process easy and convenient.
FAQ:
What is Tronlink Wallet?
Tronlink Wallet is a cryptocurrency wallet specifically designed for managing Tron assets. It is compatible with the Tron blockchain and allows users to securely store, send, and receive TRX tokens.
How do I install Tronlink Wallet?
To install Tronlink Wallet, you can go to the official Tronlink website and download the wallet extension for your browser. Once downloaded, follow the installation instructions provided on the website to set up the wallet on your browser.
Is Tronlink Wallet safe to use?
Yes, Tronlink Wallet is considered safe to use. It uses industry-standard security measures, such as encryption and private key protection, to ensure the safety of your Tron assets. However, it is always recommended to use additional security measures, such as enabling two-factor authentication, to further enhance the security of your wallet.
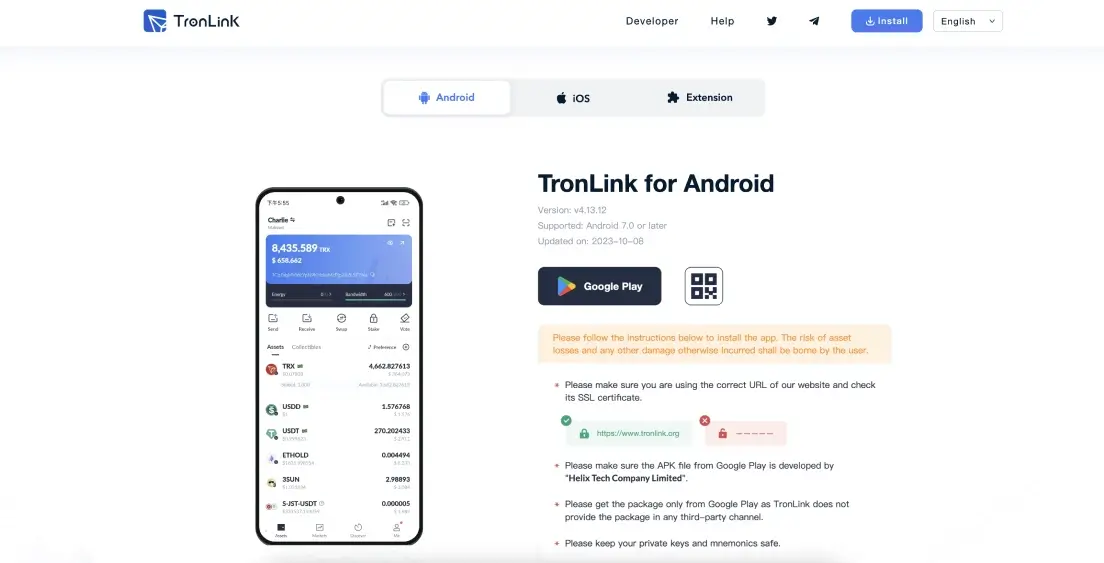
Can I use Tronlink Wallet on my mobile device?
Yes, Tronlink Wallet is available for both desktop and mobile devices. You can download the Tronlink app from the Apple App Store or Google Play Store to manage your Tron assets on your mobile device.