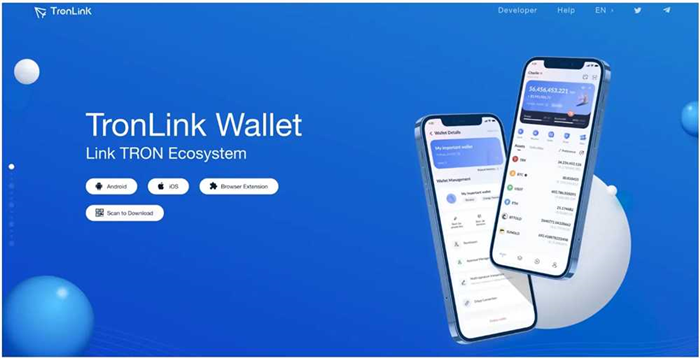
Get Started and Learn How to Use Tronlink: The Ultimate Guide to Using Tron Wallet

TronLink is a popular wallet designed specifically for the Tron blockchain. It provides a secure and convenient way to store, manage, and interact with TRX and other Tron-based tokens. Whether you are new to cryptocurrencies or an experienced user, this complete guide will walk you through the process of getting started with TronLink and using it to its full potential.
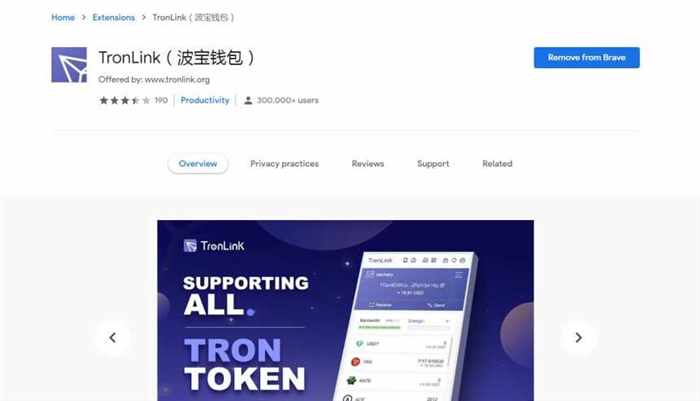
Getting Started: To begin, you need to install the TronLink wallet extension on your browser. TronLink is available for Chrome, Firefox, and Brave browsers, and can be easily downloaded from their respective extension stores. Once installed, you will be guided through a quick setup process where you will create a new wallet and set a password. Make sure to backup your mnemonic phrase, as it is the only way to recover your wallet if you forget your password.
Using TronLink: Once your wallet is set up, you will have access to a range of features and functionalities. TronLink allows you to send and receive TRX and Tron-based tokens, check your transaction history, and interact with decentralized applications (DApps) on the Tron network. You can also participate in Tron’s decentralized finance (DeFi) ecosystem, stake your TRX to earn rewards, or vote for Super Representatives to play a role in governing the Tron network.
Tips and Security: While using TronLink, it is important to prioritize security to protect your funds and personal information. Make sure to keep your wallet password and mnemonic phrase safe and secure, preferably in offline storage. Be cautious of phishing attempts and only interact with reputable websites and DApps. It is also recommended to enable two-factor authentication for an extra layer of security.
With this complete guide, you are now equipped with the knowledge to get started with TronLink and make the most of its features. Whether you are a casual user or a cryptocurrency enthusiast, TronLink offers a user-friendly interface and a wide range of functionalities to cater to your needs. Start exploring the world of Tron and unlock the potential of this powerful blockchain technology!
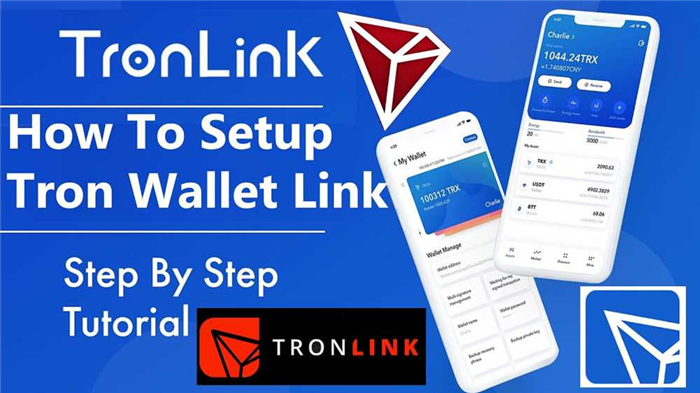
Setting Up Tronlink
To get started with Tronlink, follow these steps:
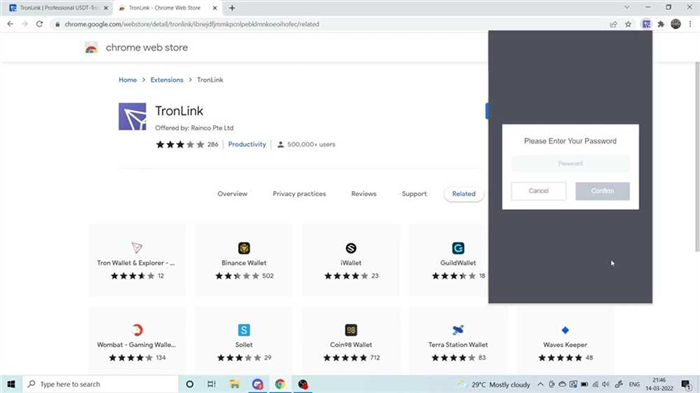
Step 1: Install Tronlink Extension
Go to the Chrome Web Store and search for Tronlink. Click on the Tronlink extension and then click on “Add to Chrome” to install it.
Step 2: Create a Wallet
Once Tronlink is installed, click on the Tronlink icon in the top right corner of your browser. Click on “Create New Account” to create a new wallet.
Step 3: Set a Password
Set a password for your wallet. Make sure it is strong and secure. Remember to store your password in a safe place as it cannot be recovered if lost.
Step 4: Download Recovery Phrase
After setting your password, Tronlink will provide you with a recovery phrase. This phrase is a set of words that can be used to recover your wallet in case you forget your password. Write down the recovery phrase and keep it in a secure place.
Step 5: Confirm Recovery Phrase
To confirm that you have written down your recovery phrase correctly, Tronlink will show you a set of words from your recovery phrase. Click on the words in the correct order to confirm.
Step 6: Import Existing Wallet (Optional)
If you already have a Tron wallet, you can choose to import it into Tronlink. Click on “Import Wallet”, enter your private key or mnemonic phrase, and follow the instructions to import your wallet.
Step 7: Start Using Tronlink
Once your wallet is set up, you can start using Tronlink to send and receive TRX, interact with decentralized applications (dApps), and participate in Tron’s ecosystem.
Remember to keep your wallet and recovery phrase secure and never share your private key with anyone to protect your funds.
Creating a Tron Wallet
Before you can start using Tronlink, you need to create a Tron wallet. Here is a step-by-step guide on how to create your own wallet.
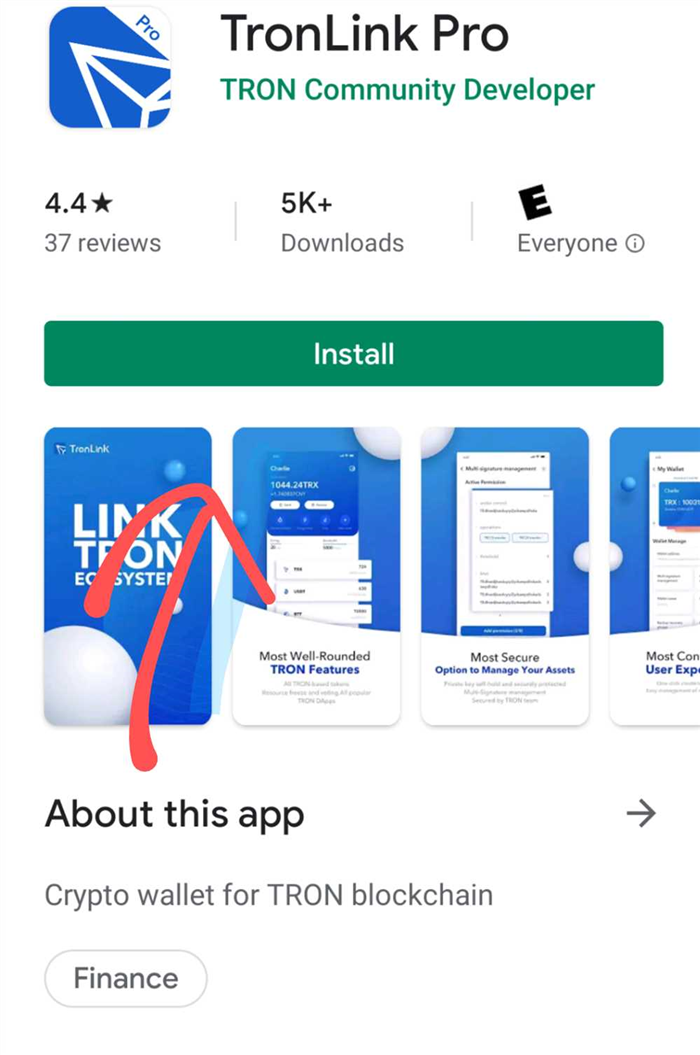
Step 1: Install Tronlink Extension
The first thing you need to do is install the Tronlink extension, which is available for Chrome, Firefox, and Brave browsers. Visit the respective extension store for your browser and search for Tronlink. Once you find it, click on the “Add to Chrome” or “Add to Firefox” button to install the extension.
Step 2: Set Up Tronlink
After you have installed the Tronlink extension, click on its icon in your browser’s toolbar. A popup window will appear, asking you to set up Tronlink. Click on the “Create New Wallet” button to start the setup process.
Next, you will be prompted to set a password for your wallet. Make sure to choose a strong and secure password that you can remember. Confirm the password and click on the “Create Wallet” button.
Tronlink will then generate a 24-word mnemonic phrase for you. This phrase is used to recover your wallet in case you forget your password or need to restore it. Write down the mnemonic phrase and keep it in a safe place. Do not share it with anyone.
After you have recorded the mnemonic phrase, click on the “Next” button. You will then be asked to verify your mnemonic phrase. Select the words in the correct order, and click on the “Next” button to proceed.
Finally, Tronlink will ask you to download and store your keystore file. This file is another way to access your wallet and should be kept safe. Click on the “Download Keystore File” button and save it to a secure location on your computer.
Step 3: Access Your Tron Wallet
Now that you have created your Tron wallet, you can access it by clicking on the Tronlink extension icon in your browser’s toolbar. Enter your password and click on the “Unlock” button to log in to your wallet. Once logged in, you can use your Tron wallet to send, receive, and manage your TRX and other TRC-20 tokens.
Remember to always keep your password, mnemonic phrase, and keystore file safe and secure. Losing access to any of these may result in permanently losing your funds.
Congratulations! You have successfully created a Tron wallet using Tronlink. You are now ready to start using the Tron blockchain and explore its decentralized applications (dApps) and features.
Managing Tron Assets
Tronlink provides users with a wide range of tools to manage their Tron assets effectively. Here are some key features and actions you can perform using Tronlink:
1. Wallet Creation
To get started with Tronlink, you need to create a Tron wallet. This can be done by following a simple registration process within the Tronlink application. Once your wallet is created, you will have a unique wallet address and private key that you can use to access your Tron assets.
2. Asset Tracking
Tronlink allows you to track your Tron assets easily. You can view the balance of your TRX and other Tron-based tokens directly within the wallet interface. This enables you to stay updated on the value of your holdings and monitor any changes in the assets.
3. Sending and Receiving Assets
With Tronlink, you can easily send and receive TRX and other Tron-based tokens. To send assets, you need to enter the recipient’s wallet address and specify the amount you want to transfer. Similarly, when receiving assets, you need to provide your wallet address to the sender. Tronlink ensures secure and quick transactions.
4. Asset Management
Managing your Tron assets is made simple with Tronlink. You can add custom tokens, allowing you to keep track of all your assets, whether they are TRX or other Tron-based tokens. Additionally, you can import and export your wallet to ensure easy access from multiple devices. Tronlink’s intuitive user interface makes asset management a breeze.
5. Voting and Participating in Tron Governance
Tronlink also offers features that allow you to actively participate in Tron’s governance system. This includes voting for Super Representatives and participating in the Tron community’s decision-making process. By staking your TRX and voting, you can earn rewards and contribute to the Tron network.
In conclusion, Tronlink offers a comprehensive set of features for managing your Tron assets. From wallet creation to asset tracking, sending and receiving assets, asset management, and participating in Tron governance, Tronlink provides a user-friendly platform for all your Tron asset management needs.
Making Transactions with Tronlink
Tronlink is a popular wallet for using the Tron blockchain, and it provides an easy-to-use interface for making transactions. In this guide, we’ll walk you through the steps to make transactions with Tronlink.
Step 1: Install Tronlink
The first step is to install the Tronlink extension. You can find it in the Chrome Web Store or Firefox Add-ons. Once installed, you’ll see the Tronlink icon in your browser toolbar.
Step 2: Create or Import a Wallet
After installing Tronlink, you’ll need to create a new wallet or import an existing one. If you’re new to Tronlink, click on the Tronlink icon in your browser toolbar and select “Create Wallet.” Follow the instructions to set up your new wallet. If you already have a wallet, select “Import Wallet” and enter your private key or mnemonic phrase.
Step 3: Connect Tronlink to a DApp or Website
To make transactions with Tronlink, you’ll need to connect it to a decentralized application (DApp) or website that supports the Tron blockchain. If you’re using a DApp, look for the Tronlink login option or a connect button. Click on it and follow the prompts to connect your Tronlink wallet.
Step 4: Choose a Token and Amount
Once connected, you’ll be able to select the token you want to send and the amount. Tronlink supports TRX and various TRC-10 and TRC-20 tokens. Select the token you wish to transact with and enter the desired amount in the designated field.
Step 5: Confirm and Send the Transaction
Before sending the transaction, double-check the recipient’s address to ensure accuracy. Once you’re ready, click on the “Send” or “Confirm” button. Tronlink will generate a transaction confirmation dialogue that shows the transaction details and fees. Review the details and click “Confirm” to complete the transaction.
Step 6: Track the Transaction
After the transaction is sent, you can track its progress in the Tronlink interface or through the Tron blockchain explorer. Tronlink provides real-time updates on the transaction’s status, including confirmation times and block height.
That’s it! You’ve now learned how to make transactions with Tronlink. It’s important to always double-check the transaction details and ensure you’re interacting with secure and trusted DApps or websites.
What is Tronlink?
Tronlink is a digital wallet that allows users to manage their TRON (TRX) tokens and interact with decentralized applications (DApps) on the TRON blockchain.
How can I install Tronlink?
To install Tronlink, follow these steps:
1. Open your web browser and go to the Tronlink website.
2. Click on the “Download” button to download the Tronlink extension.
3. Once the download is complete, click on the file to install the extension.
4. After the installation is complete, you will see the Tronlink icon in your browser’s toolbar.
5. Click on the Tronlink icon and create a new wallet or import an existing one to get started.